
Ok, anyone who was born and raised in Bawlamer (that’s Baltimore for those foreigners) knows that you pronounce ‘sink’ (as in the sinking ship) truly as “zink”, no … not the metal plate you put on your propeller shaft to keep it from rusting … c’mon hon, itza zink, yew know hon, where you’s warsh yer hands! Anyways, our bathroom zink, er .. sink, had this standard, awful, tiny plastic sink.
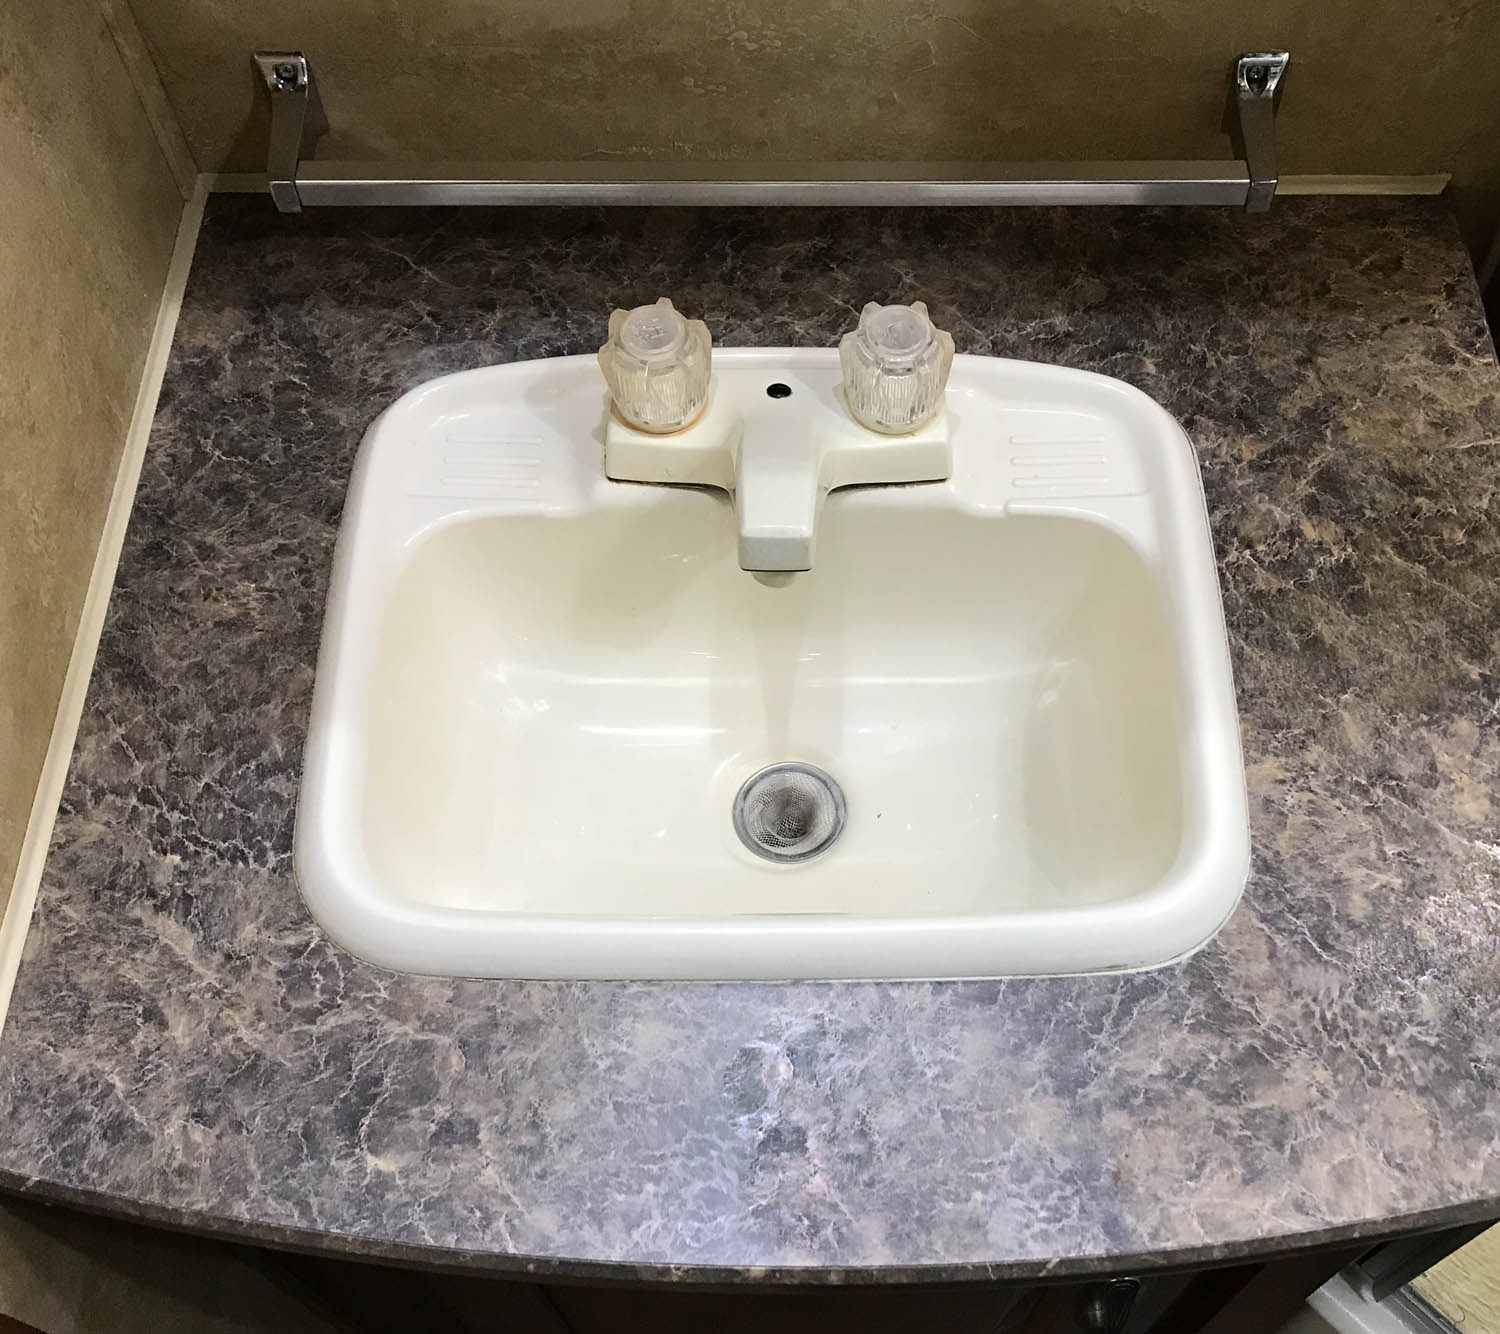
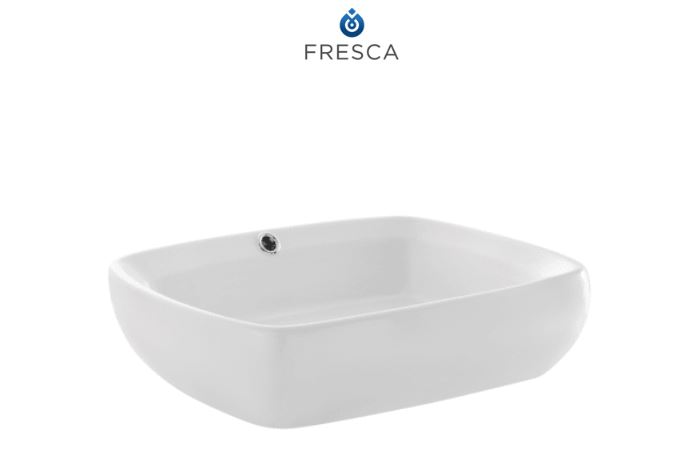
We hated it. So, what to do – we replace it. The problem was, the cabinet was so small it was impossible to find any kind of drop-in that would fit. Just wasn’t going to happen. So, we changed gears and found a relatively small vessel sink that would fit in to the same space. We decided on this from a company called Fresca https://www.build.com/fresca-fvs6119/s921517?uid=2309030
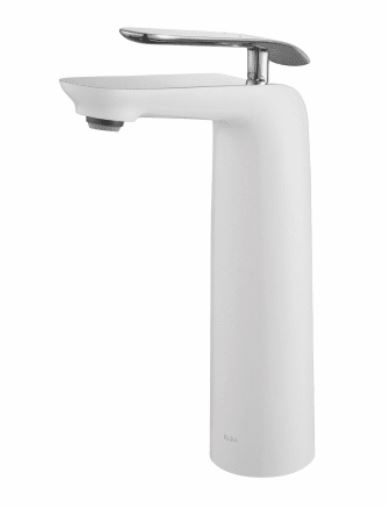
Then comes the issue of the faucet, the problem there being the limited height to deal with since we have a cabinet over top. It turns out that vessel faucets come basically in two styles, medium height, or tall, and not a lot in between. Thankfully, we did find one that wasn’t too tall. It would fit comfortably below the cabinet above the sink and it matched the white porcelain of the sink! We found this at Build.com. https://www.build.com/kraus-fvs-1820/s1135363?uid=2724681&null.
Now comes the fun part, making it all happen. Let me say this up front, I am not a plumber and I don’t play one on TV. But I have a little common sense (my wife would argue that) and I did manage to change my kitchen sink so … what the heck, here goes nothing.
Lesson 1, learned the hard way (in the kitchen). If you’re working in confined space on a cabinet – take the door off! That may seem like a duh moment but, I almost broke a kitchen cabinet door by NOT doing that first.
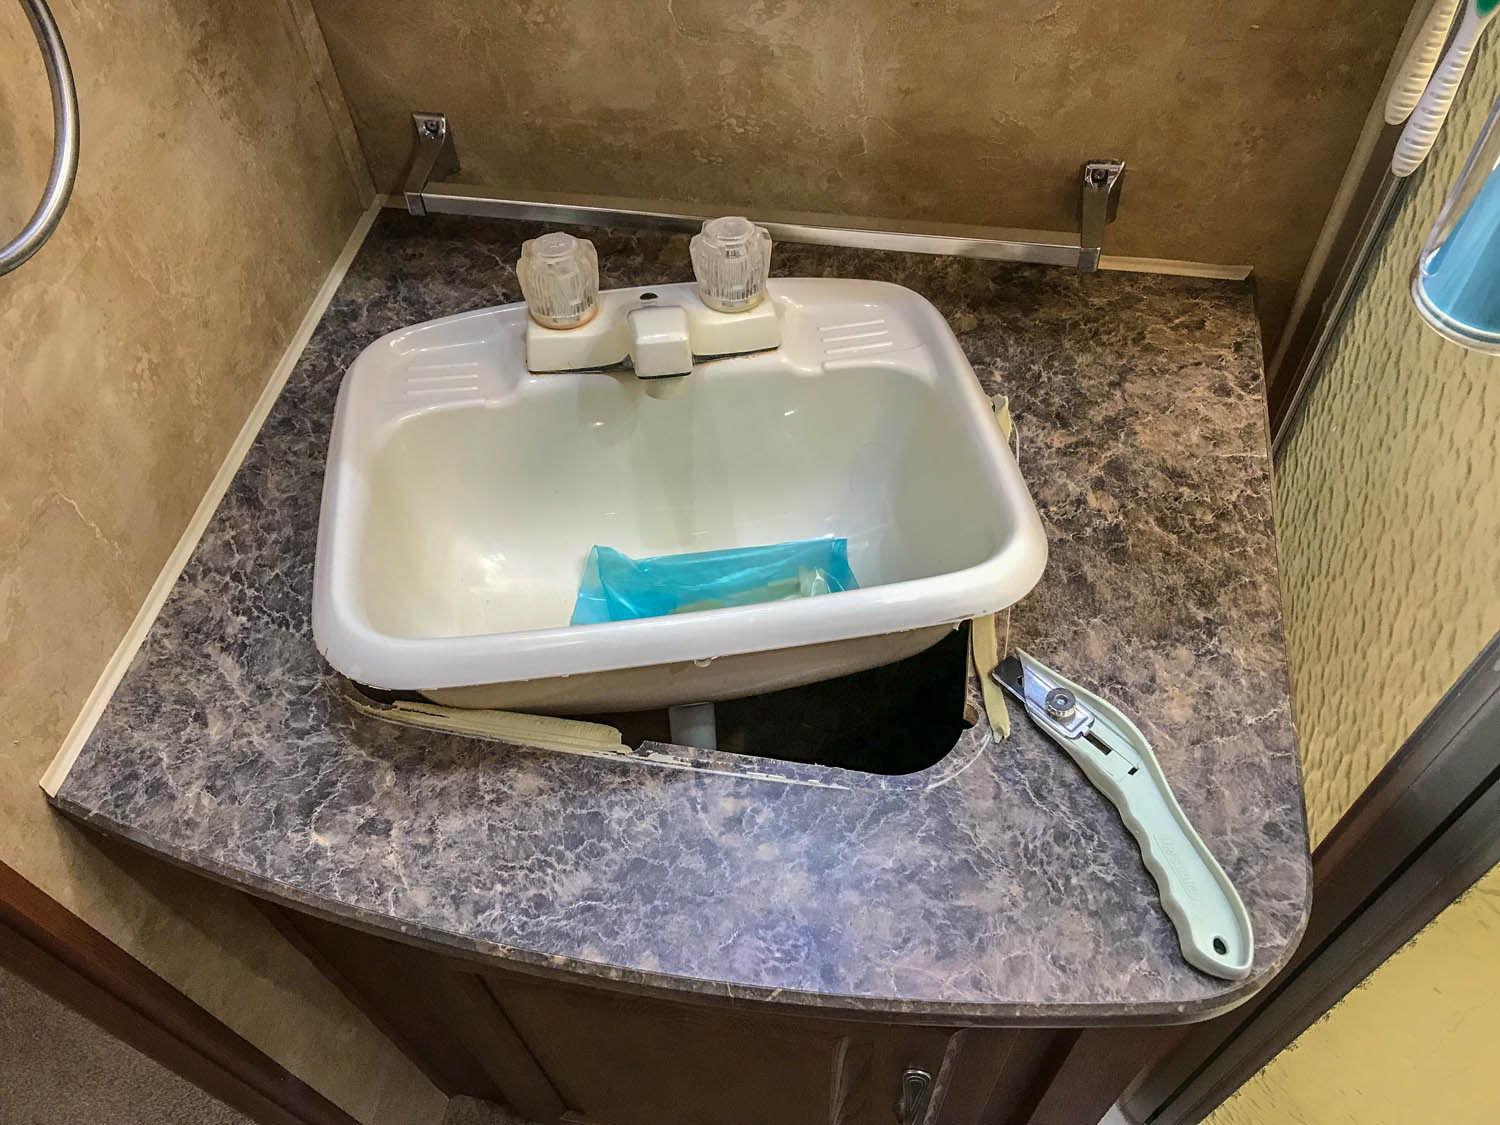
Next, remove the sink. Ha, you think this is easy?!?! What can it be, remove a couple of screws, lift it off, done! … Till you realize they must use some kind of earthquake proof super glue adhesive type plumber’s putty that absolutely, positively WILL prevent your 2 lb. plastic sink from ejecting out of the cabinet in the event you roll your rig over ONTO the TOP OF a SATURN 5 ROCKET, while it is exiting the stratosphere, on its way to Mars! Needless to say, a straight edge razor and some gentle prying is your friend.

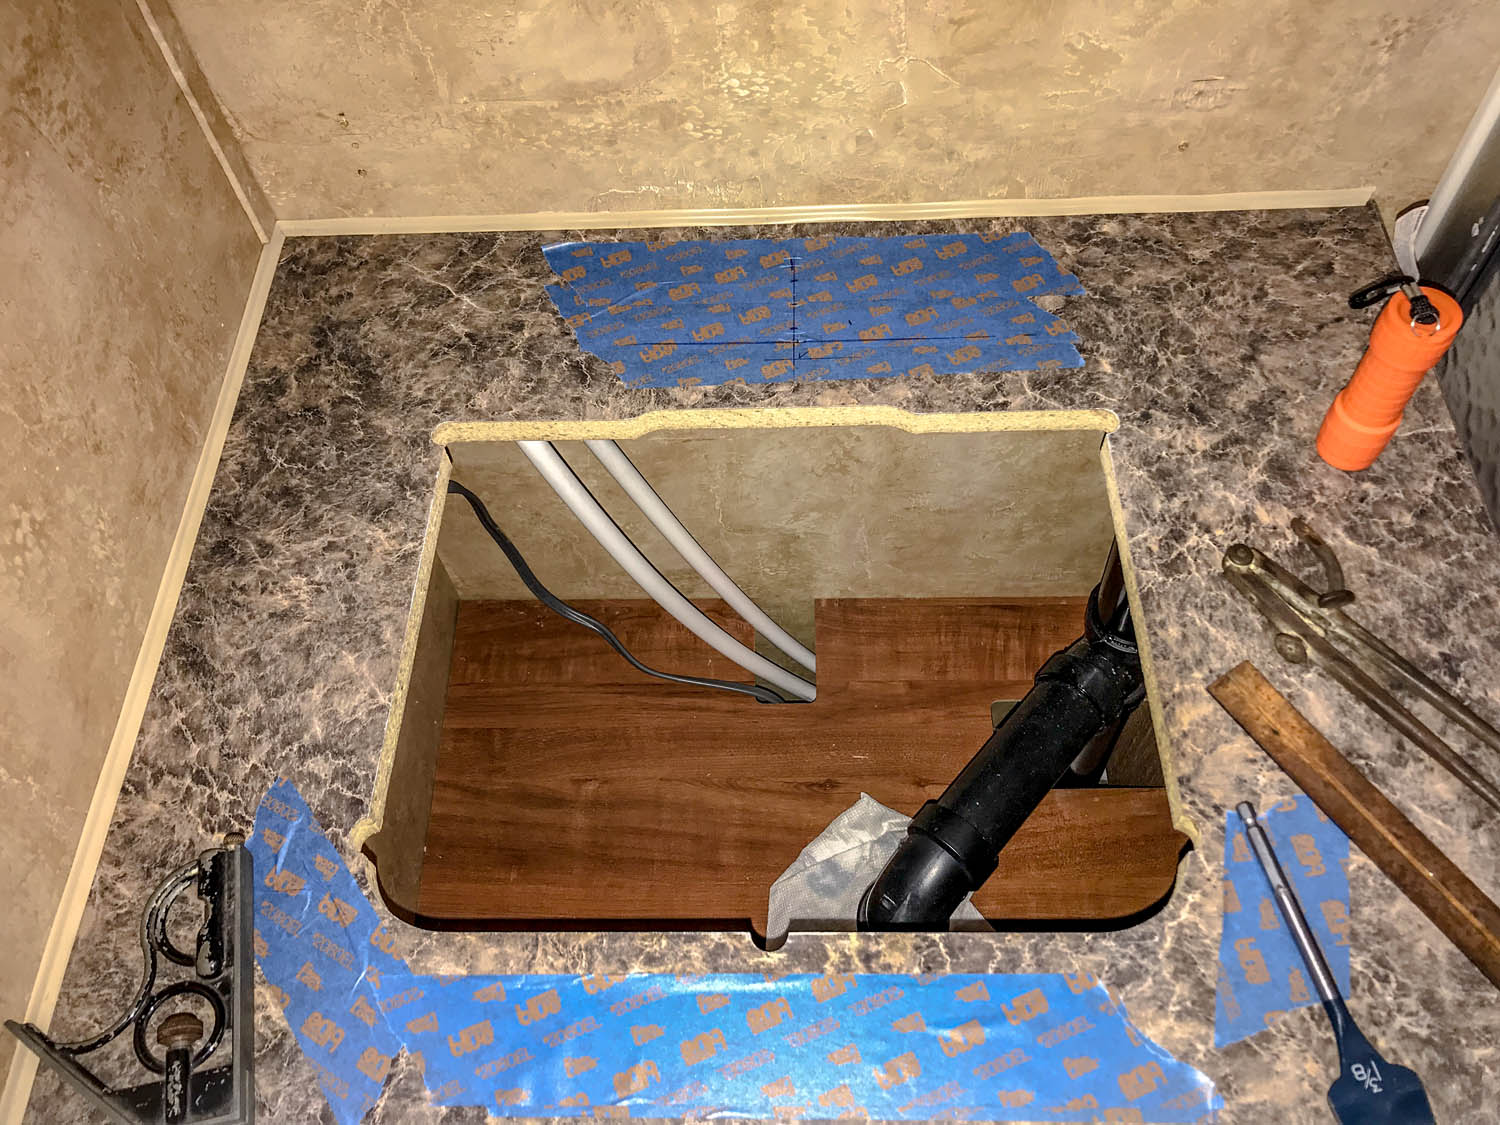
My next step was to figure out where to put the faucet, and since this is a new add on and not part of the sink, I had to install this as if it was a new installation. So, the old adage measure twice, cut once … well… measure about 10 times, drill once … painters tape makes it easy to mark up …re-mark up … till you’re sure.
After the hole was drilled, the faucet was easy. Just drop it in, use the mounting flange that comes with it and tighten it up.

Next up, the water lines. We had the standard water lines, I wanted to add shut off valves. No worries, a quick trim of the PEX lines, add a valve, done. And to be totally truthful … I pretty much HAD to put shut off valves in because this idiot forgot to mark which line was hot or cold … so …this made it pretty much easy to fix if I get it wrong … hey, truth in journalism right?

Now it’s time to drop in the new sink – fortunately for us, this is a vessel sink that sits on top of the cabinet so as long as it covers the old hole, I don’t need to cut any more of the top out. Nor do I need to cover the hole with a filler top, it was large enough to cover. So with a little planning for position, on it goes and gets glued in place with an adhesive. In my case I chose Liquid Nails, or I could have used a good silicone adhesive. I had a tube of Liquid Nails – so that’s what I used.

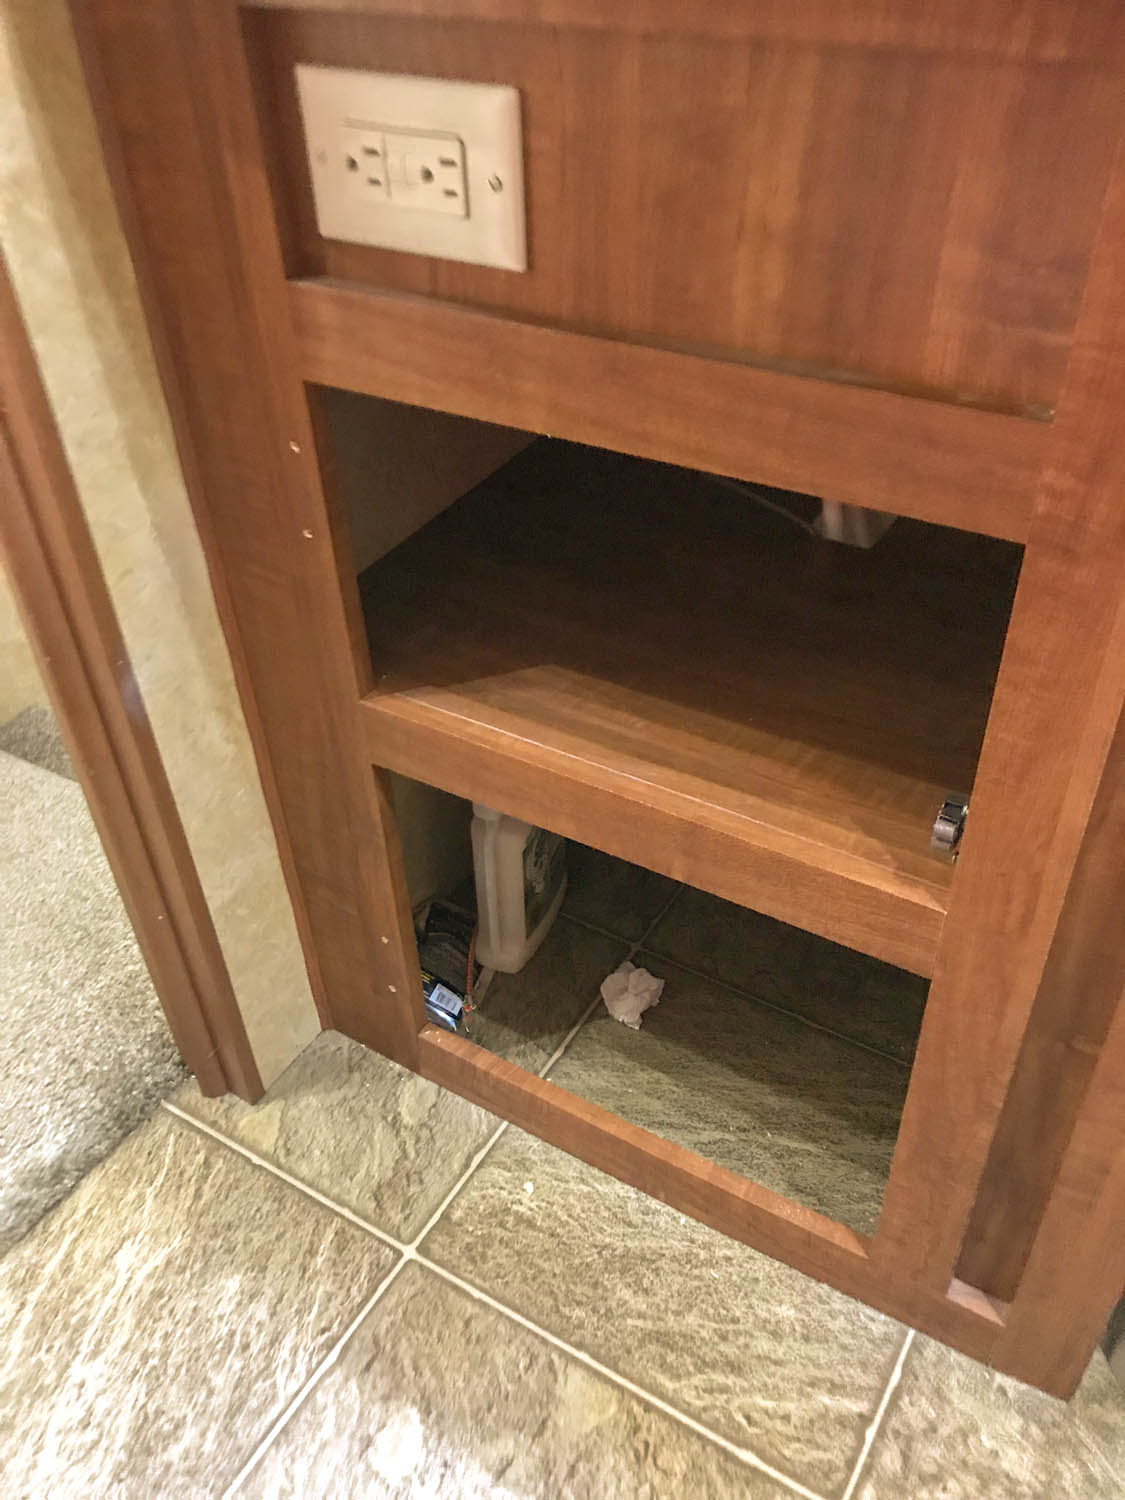
Lastly is the drain. This is a tiny cabinet underneath and I wanted to hold onto as much storage space as I could. The P-trap basically made most of the space under the sink pretty much useless.
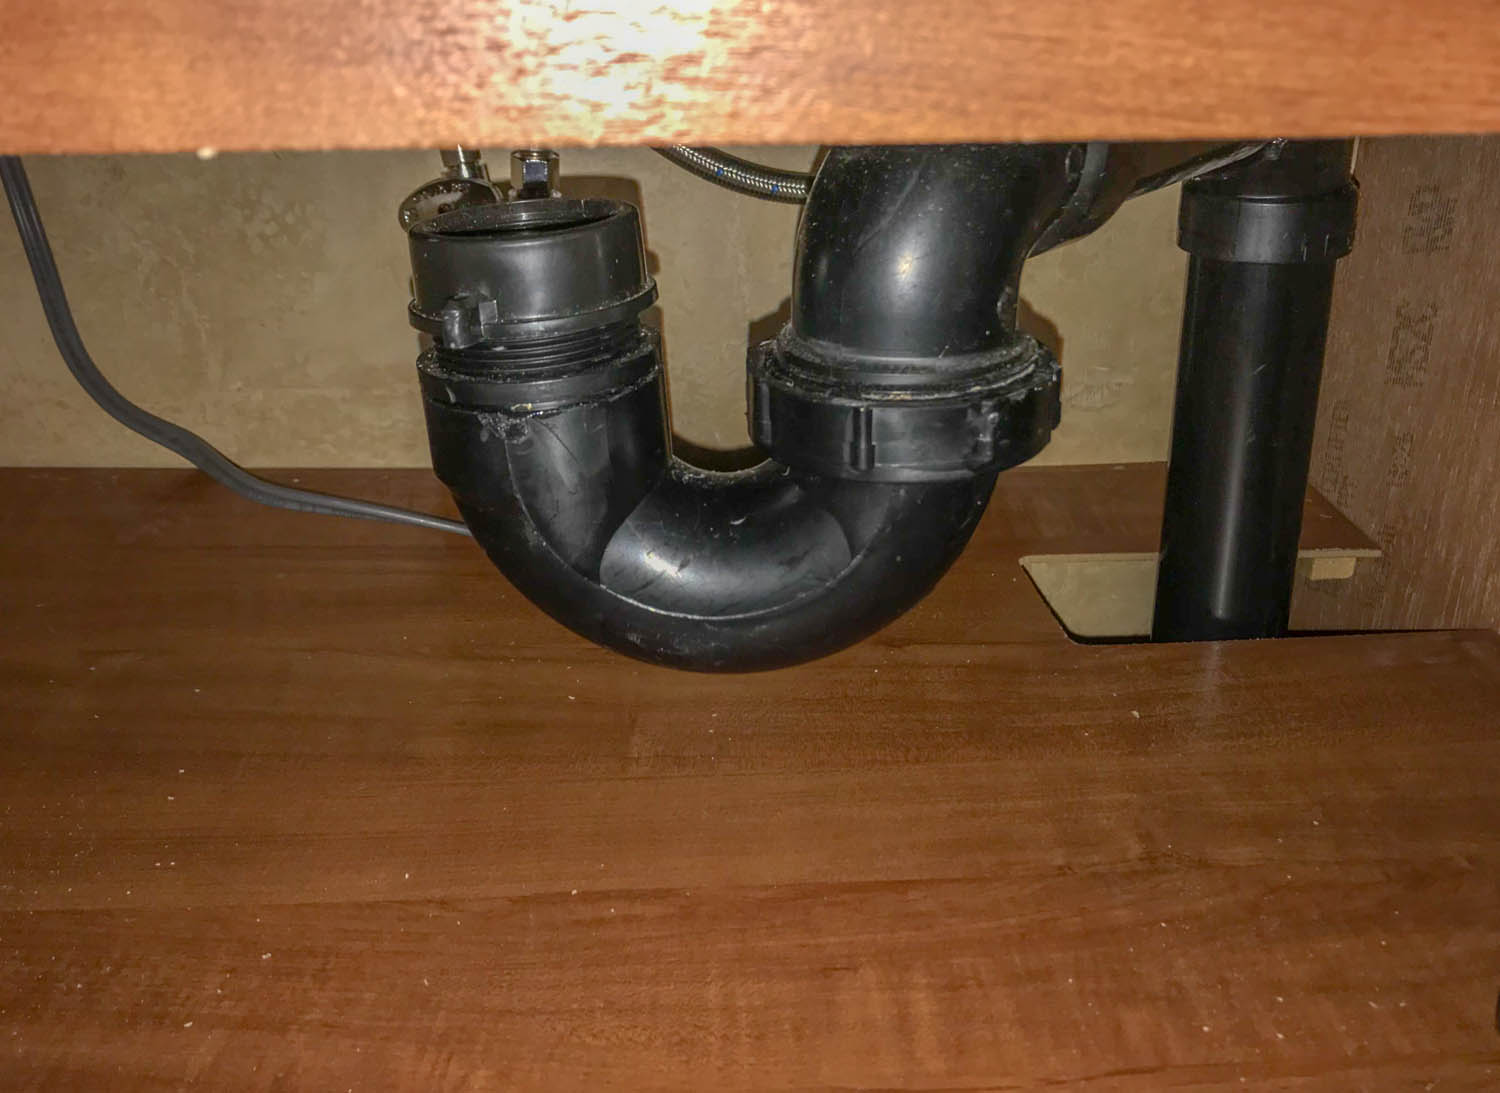
Fortunately for us, we went to the Hershey RV show and there was a vendor there representing the HepvO Sanitary Waste Valve. It’s a pretty unique device, very simple in design, that totally eliminates the need for a P-trap. So that is what I installed to open up the space underneath the sink for more storage. (Which BTW, I also did to our kitchen sink opening up more usable storage in that cabinet also!)

So, voila! … done! Small, cheap, ugly bathroom sink gone – new, larger, more attractive bathroom sink added!

