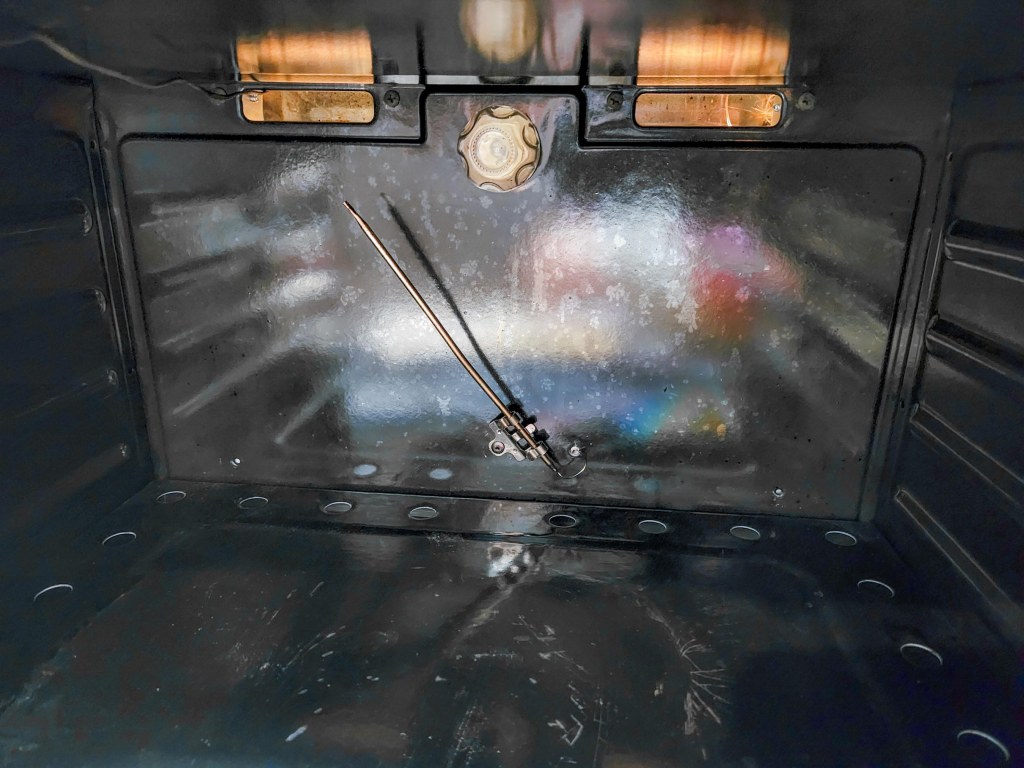
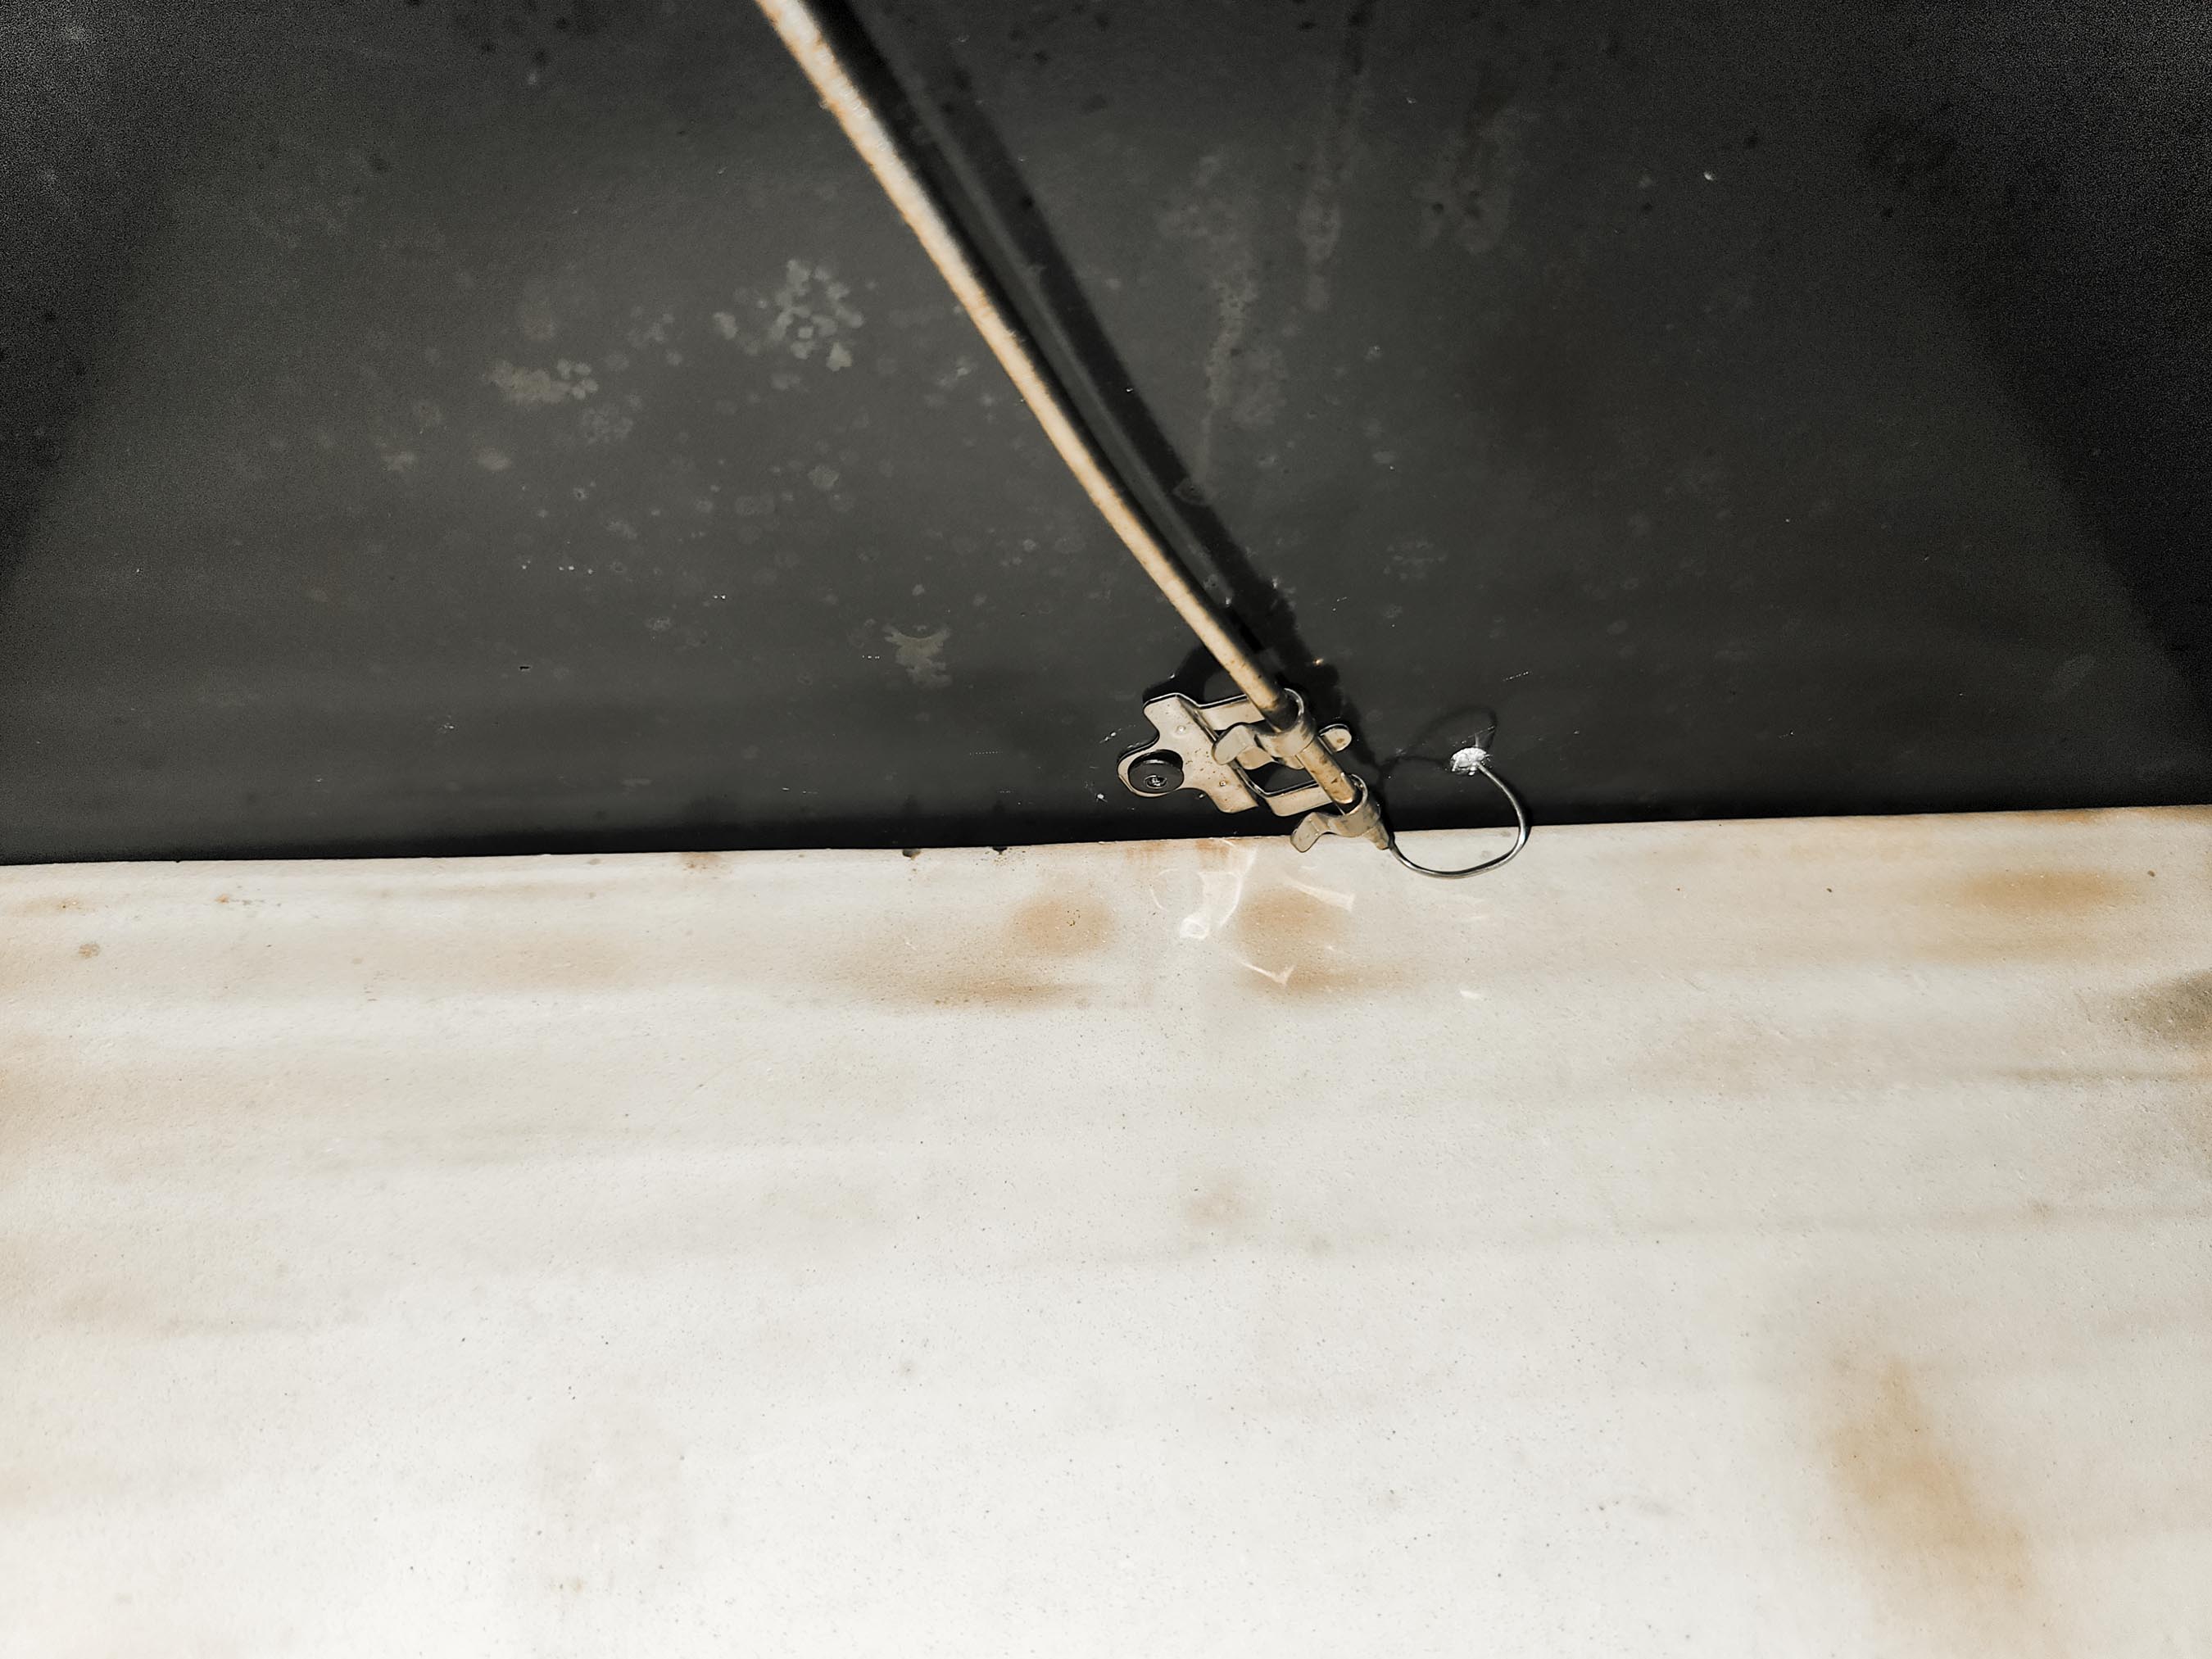
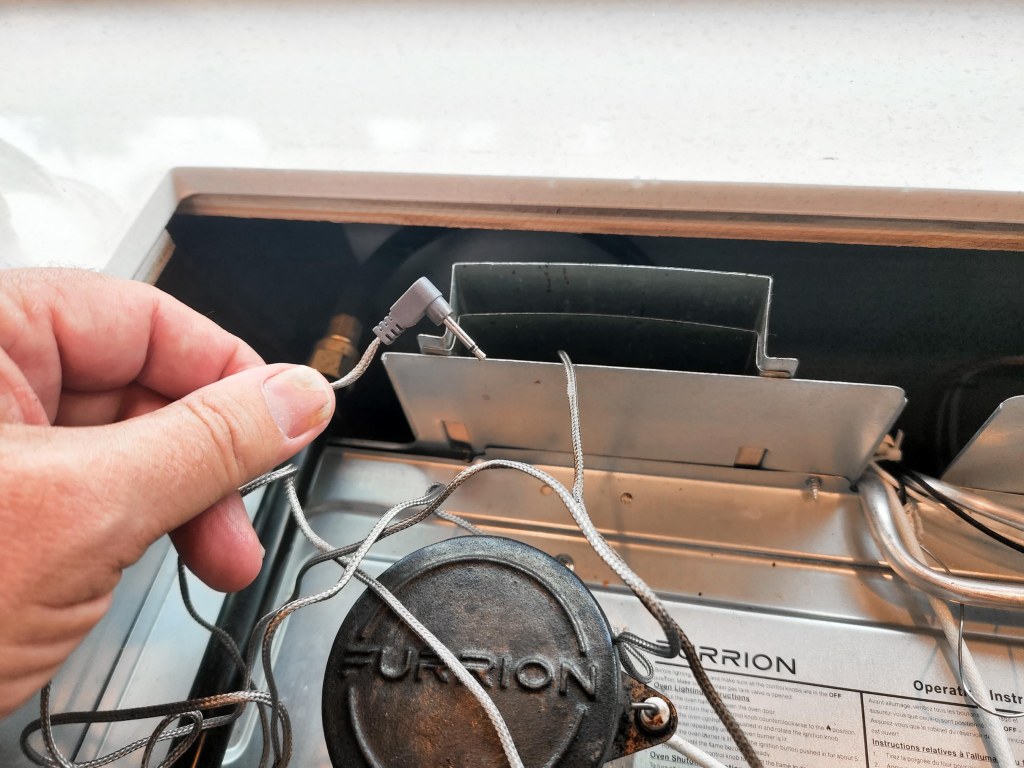
Candi loves to cook and bake and unfortunately this oven leaves a lot to be desired. It doesn’t hold a temperature well and it’s hard to actually get an accurate temperature. I started thinking about it and came up with some things that help improve the oven. First, the thermocouple probe was mounted so that it was directly above the rear vent holes. Heat would come directly up thru the holes, heat the probe too quickly, shut the burner down. So, I took the probe off the bracket, rotated the bracket, and replaced the probe so that the tip is pointing up toward the top of the oven, and not touching the wall.
(click on any of the photos below to open full size)
Next, get a really GOOD 1/2″ pizza stone – we highly recommend one from California Pizza Stone. They can custom cut one to 11.5″ x 14″ and it will fit so that you can cover the rear vent holes but keep the front and side holes open.
Lastly, get a decent digital thermometer usually associated with outdoor grilling and put the probe on the back of the rack. You can feed the wire up thru the vent and put the control on the counter next to the oven. Now you have a really good idea of what the actual temperature is inside and the thick stone helps the oven hold its heat when the door is opened.
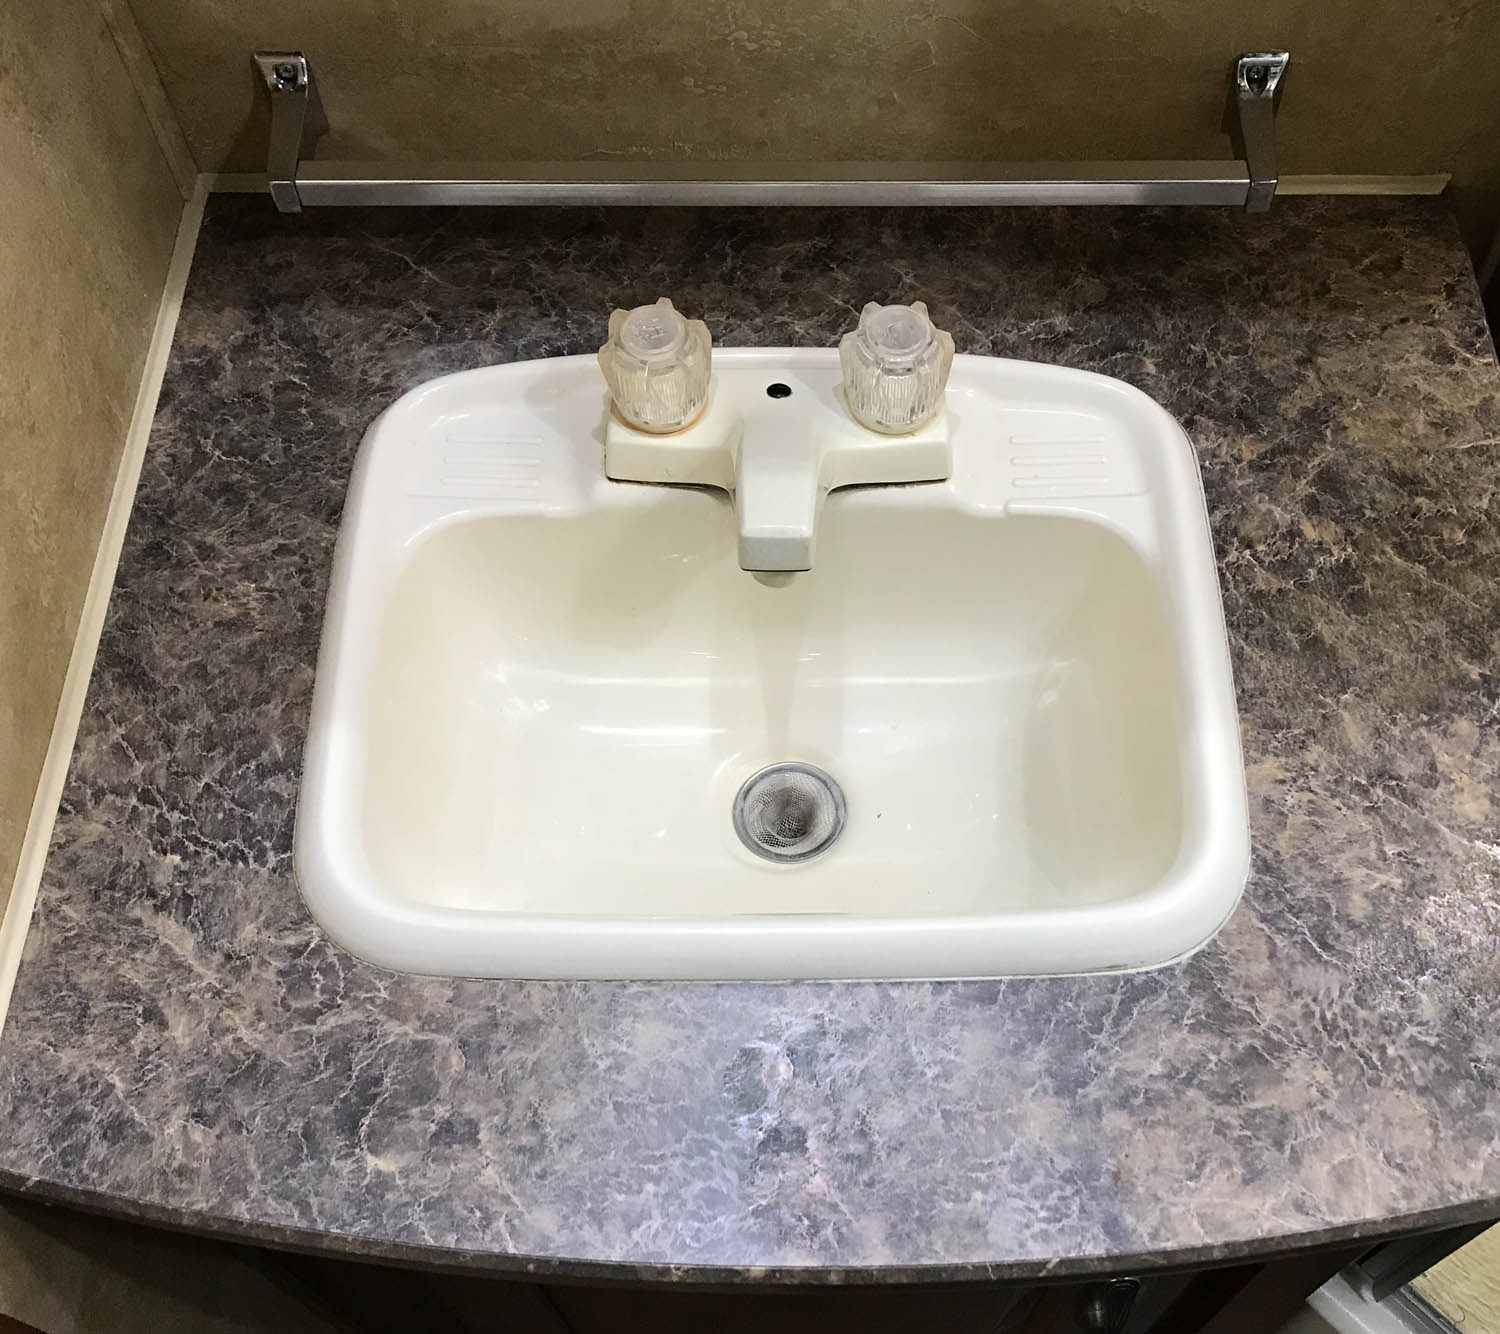
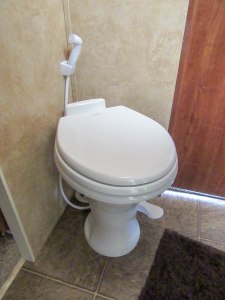
Ok, anyone who was born and raised in Bawlamer (that’s Baltimore for those foreigners) knows that you pronounce ‘sink’ (as in the sinking ship) truly as “zink”, no … not the metal plate you put on your propeller shaft to keep it from rusting … c’mon hon, itza zink, yew know hon, where you’s warsh yer hands! Anyways, our bathroom zink, er .. sink, had this standard, awful, tiny plastic sink.
We hated it. So, what to do – we replace it. The problem was, the cabinet was so small it was impossible to find any kind of drop-in that would fit. Just wasn’t going to happen. So, we changed gears and found a relatively small vessel sink that would fit in to the same space. We decided on this from a company called Fresca https://www.build.com/fresca-fvs6119/s921517?uid=2309030
Then comes the issue of the faucet, the problem there being the limited height to deal with since we have a cabinet over top. It turns out that vessel faucets come basically in two styles, medium height, or tall, and not a lot in between. Thankfully, we did find one that wasn’t too tall. It would fit comfortably below the cabinet above the sink and it matched the white porcelain of the sink! We found this at Build.com. https://www.build.com/kraus-fvs-1820/s1135363?uid=2724681&null.
Now comes the fun part, making it all happen. Let me say this up front, I am not a plumber and I don’t play one on TV. But I have a little common sense (my wife would argue that) and I did manage to change my kitchen sink so … what the heck, here goes nothing.
Lesson 1, learned the hard way (in the kitchen). If you’re working in confined space on a cabinet – take the door off! That may seem like a duh moment but, I almost broke a kitchen cabinet door by NOT doing that first.
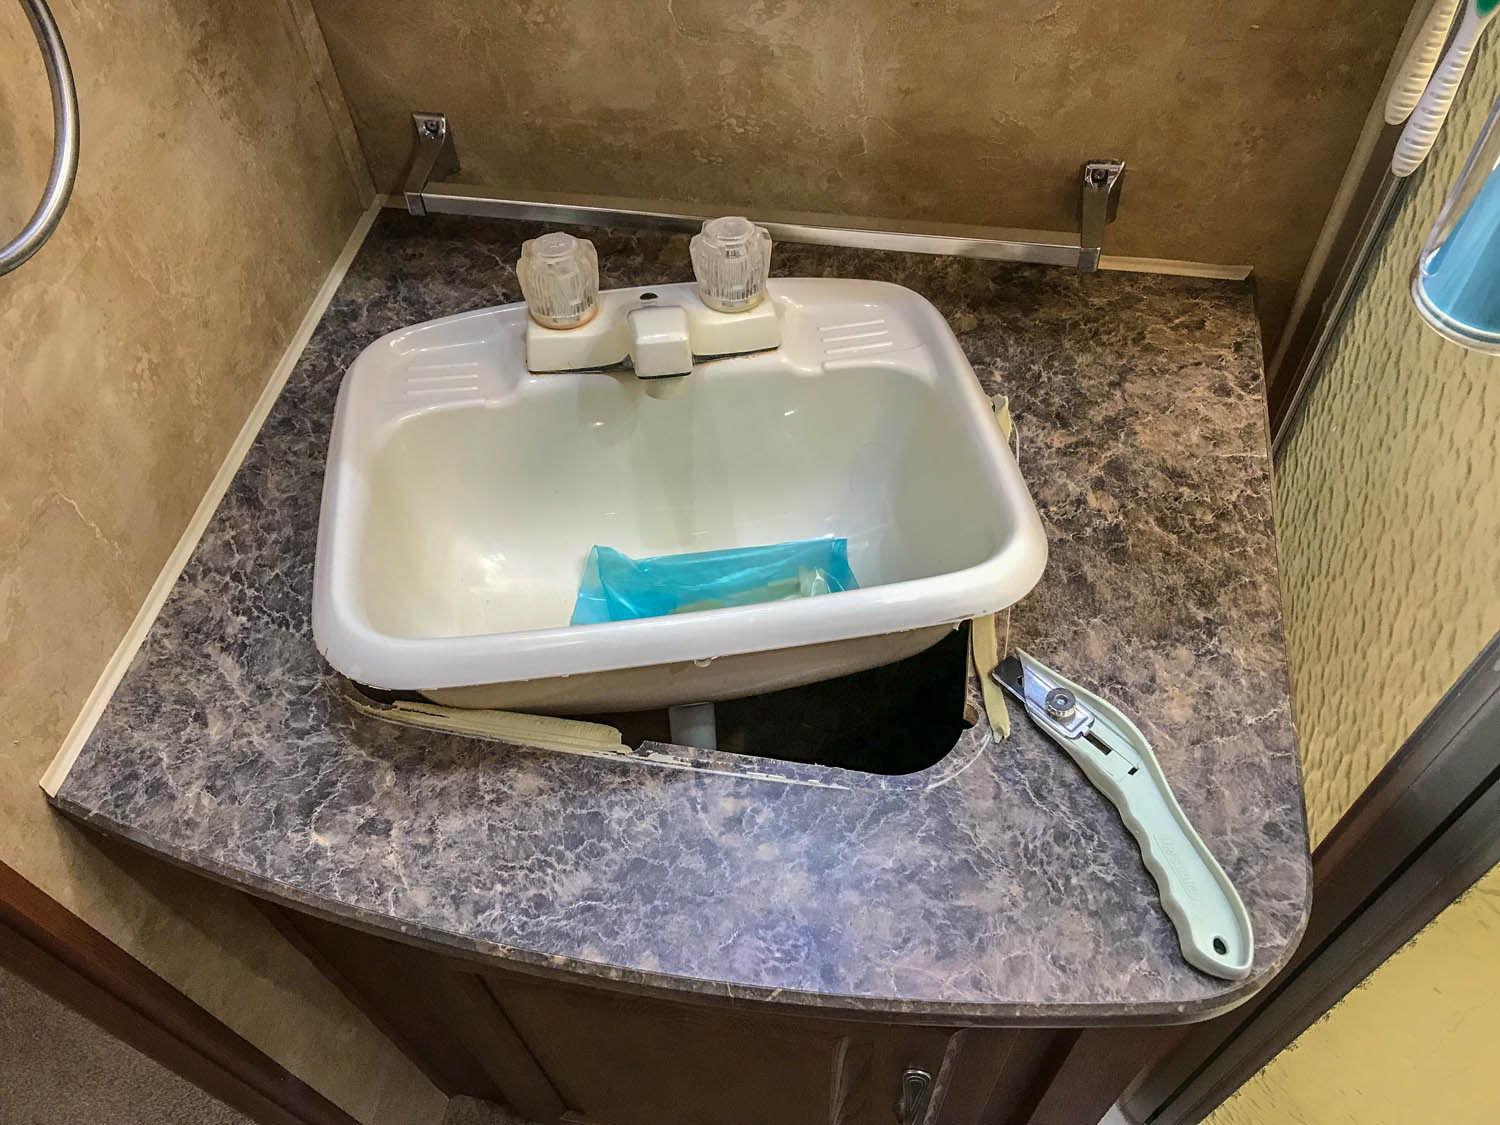
Next, remove the sink. Ha, you think this is easy?!?! What can it be, remove a couple of screws, lift it off, done! … Till you realize they must use some kind of earthquake proof super glue adhesive type plumber’s putty that absolutely, positively WILL prevent your 2 lb. plastic sink from ejecting out of the cabinet in the event you roll your rig over ONTO the TOP OF a SATURN 5 ROCKET, while it is exiting the stratosphere, on its way to Mars! Needless to say, a straight edge razor and some gentle prying is your friend.
My next step was to figure out where to put the faucet, and since this is a new add on and not part of the sink, I had to install this as if it was a new installation. So, the old adage measure twice, cut once … well… measure about 10 times, drill once … painters tape makes it easy to mark up …re-mark up … till you’re sure.
After the hole was drilled, the faucet was easy. Just drop it in, use the mounting flange that comes with it and tighten it up.
Next up, the water lines. We had the standard water lines, I wanted to add shut off valves. No worries, a quick trim of the PEX lines, add a valve, done. And to be totally truthful … I pretty much HAD to put shut off valves in because this idiot forgot to mark which line was hot or cold … so …this made it pretty much easy to fix if I get it wrong … hey, truth in journalism right?
Now it’s time to drop in the new sink – fortunately for us, this is a vessel sink that sits on top of the cabinet so as long as it covers the old hole, I don’t need to cut any more of the top out. Nor do I need to cover the hole with a filler top, it was large enough to cover. So with a little planning for position, on it goes and gets glued in place with an adhesive. In my case I chose Liquid Nails, or I could have used a good silicone adhesive. I had a tube of Liquid Nails – so that’s what I used.
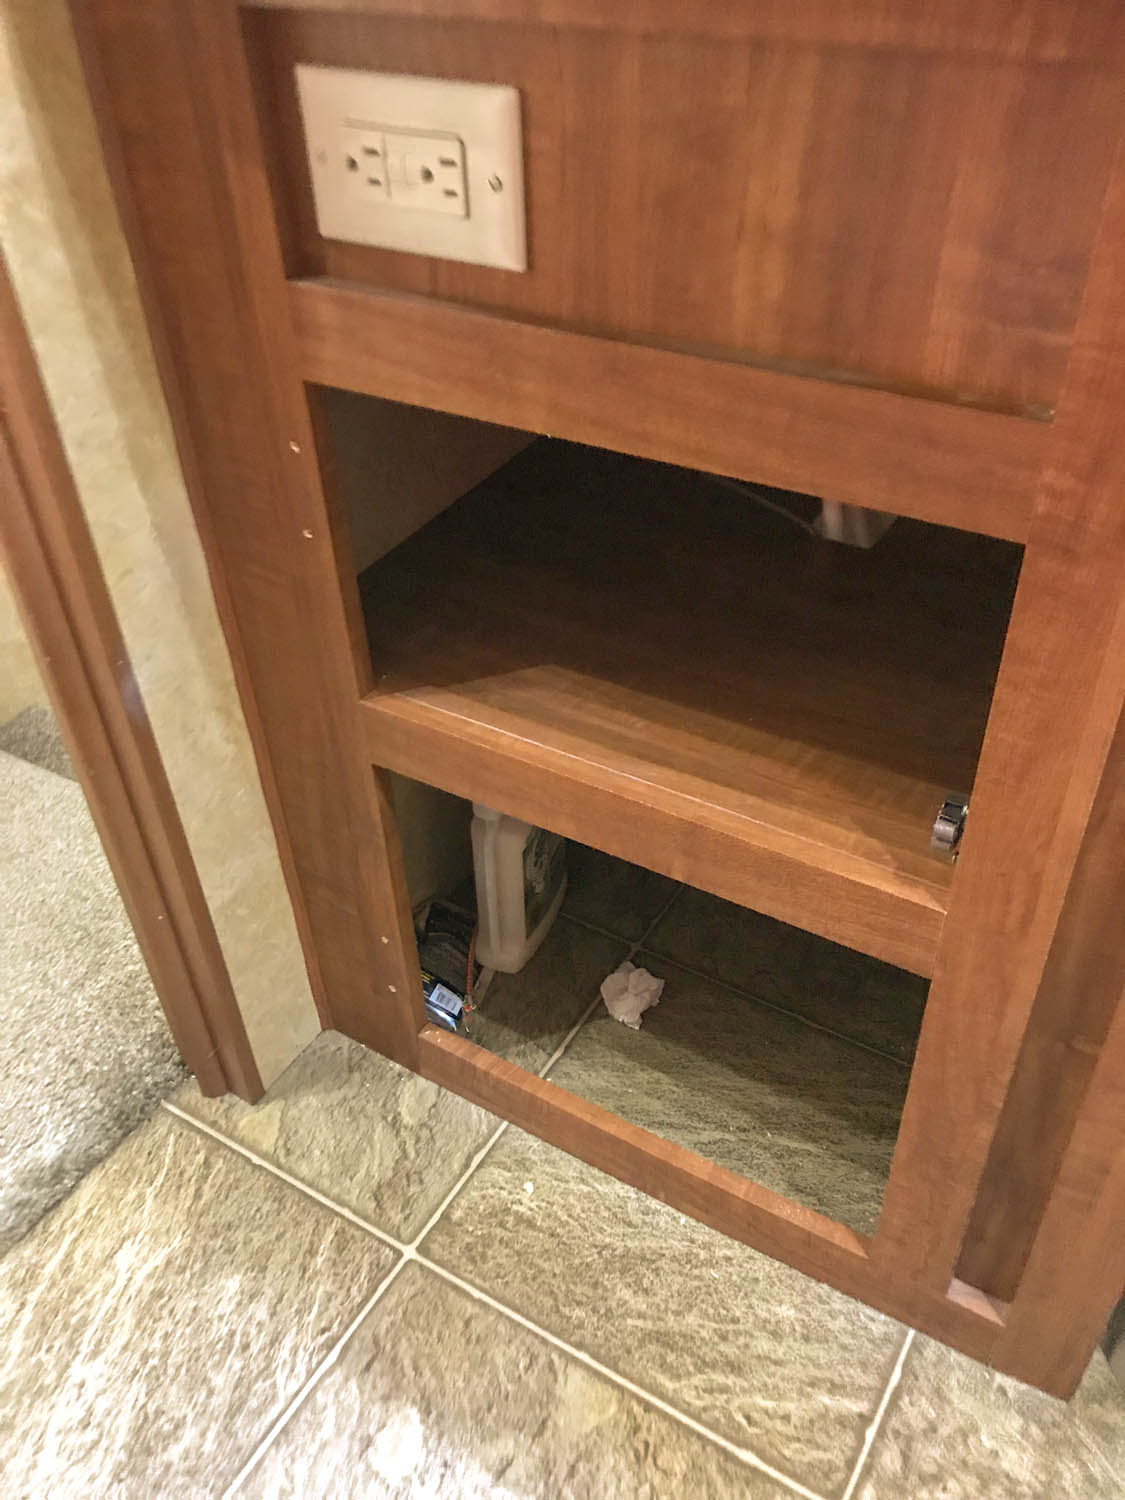
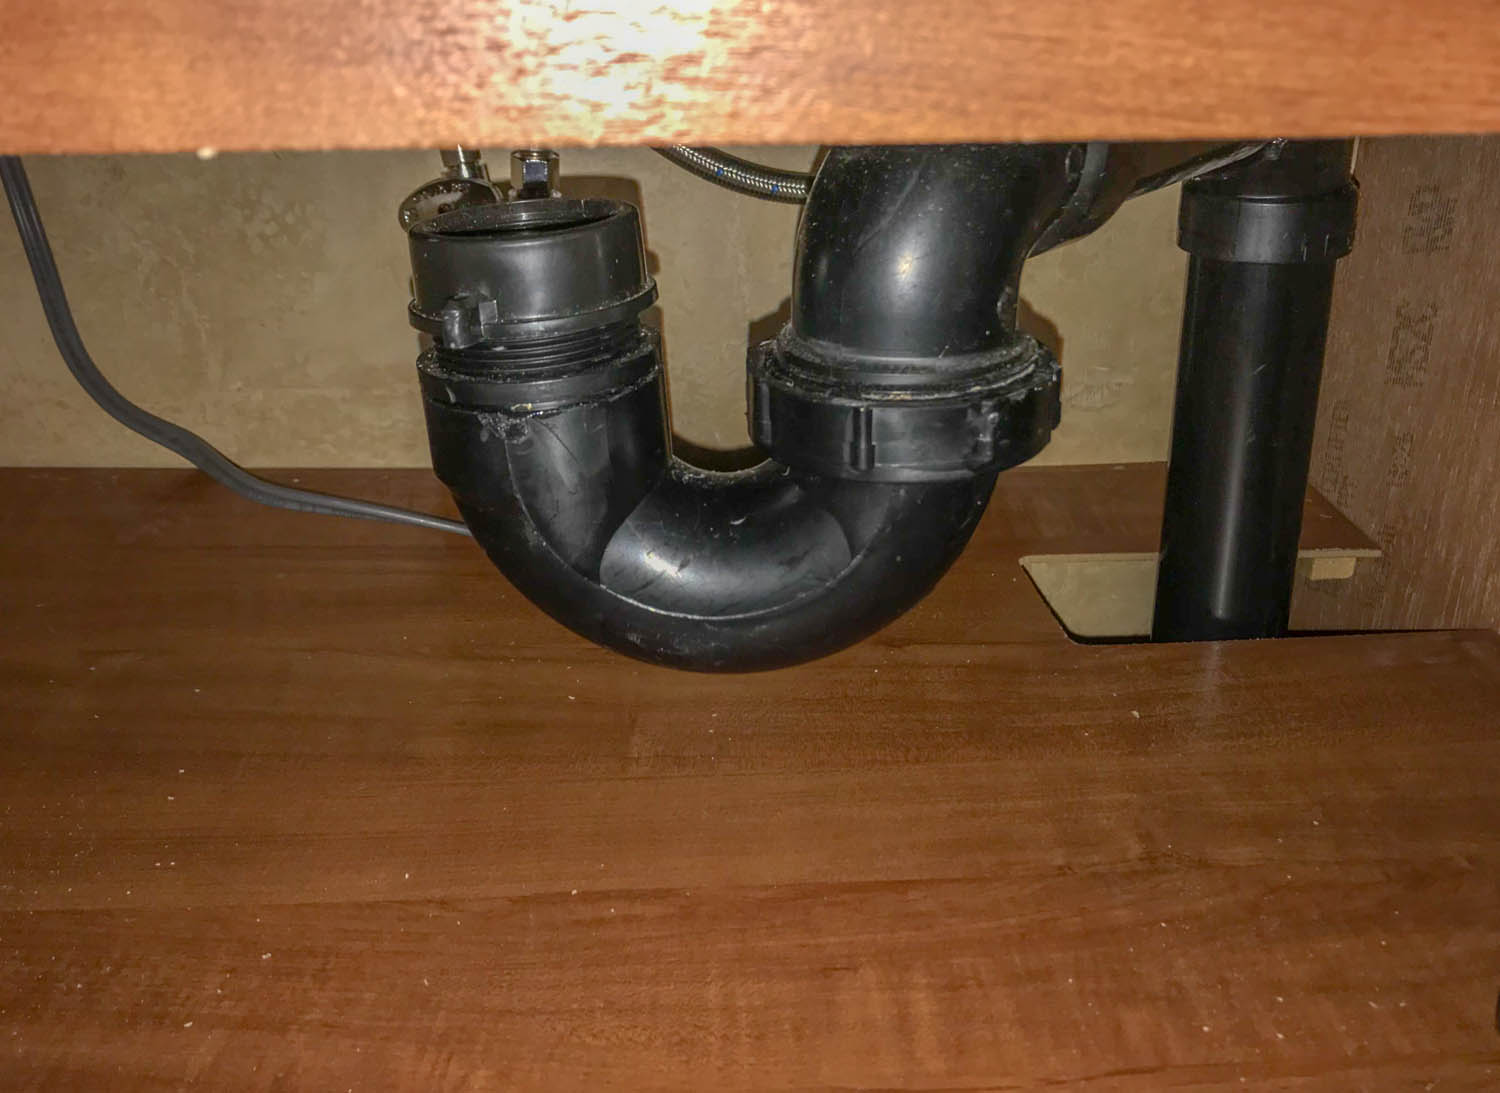
Lastly is the drain. This is a tiny cabinet underneath and I wanted to hold onto as much storage space as I could. The P-trap basically made most of the space under the sink pretty much useless.
Fortunately for us, we went to the Hershey RV show and there was a vendor there representing the HepvO Sanitary Waste Valve. It’s a pretty unique device, very simple in design, that totally eliminates the need for a P-trap. So that is what I installed to open up the space underneath the sink for more storage. (Which BTW, I also did to our kitchen sink opening up more usable storage in that cabinet also!)
So, voila! … done! Small, cheap, ugly bathroom sink gone – new, larger, more attractive bathroom sink added!
Every RV’r in the known universe has had the time when some @%$# idiot jack_ss in a tiny little Honda Civic decides they absolutely, positively, NEED to cross from the lane to your left, to the exit ramp a lane plus to your right. (And it’s usually got a rear spoiler wing on the back, and muffler that makes it sound like a weed eater – right?!?). Either that, or you finally made it to the bottom of that 4 mile 18% downhill grade, and you’re wondering if it’s actually possible to step on your brake pedal hard enough to actually touch the back of your engine – while the smoke clears from your front brake pads that just disintegrated?
FEAR NOT!
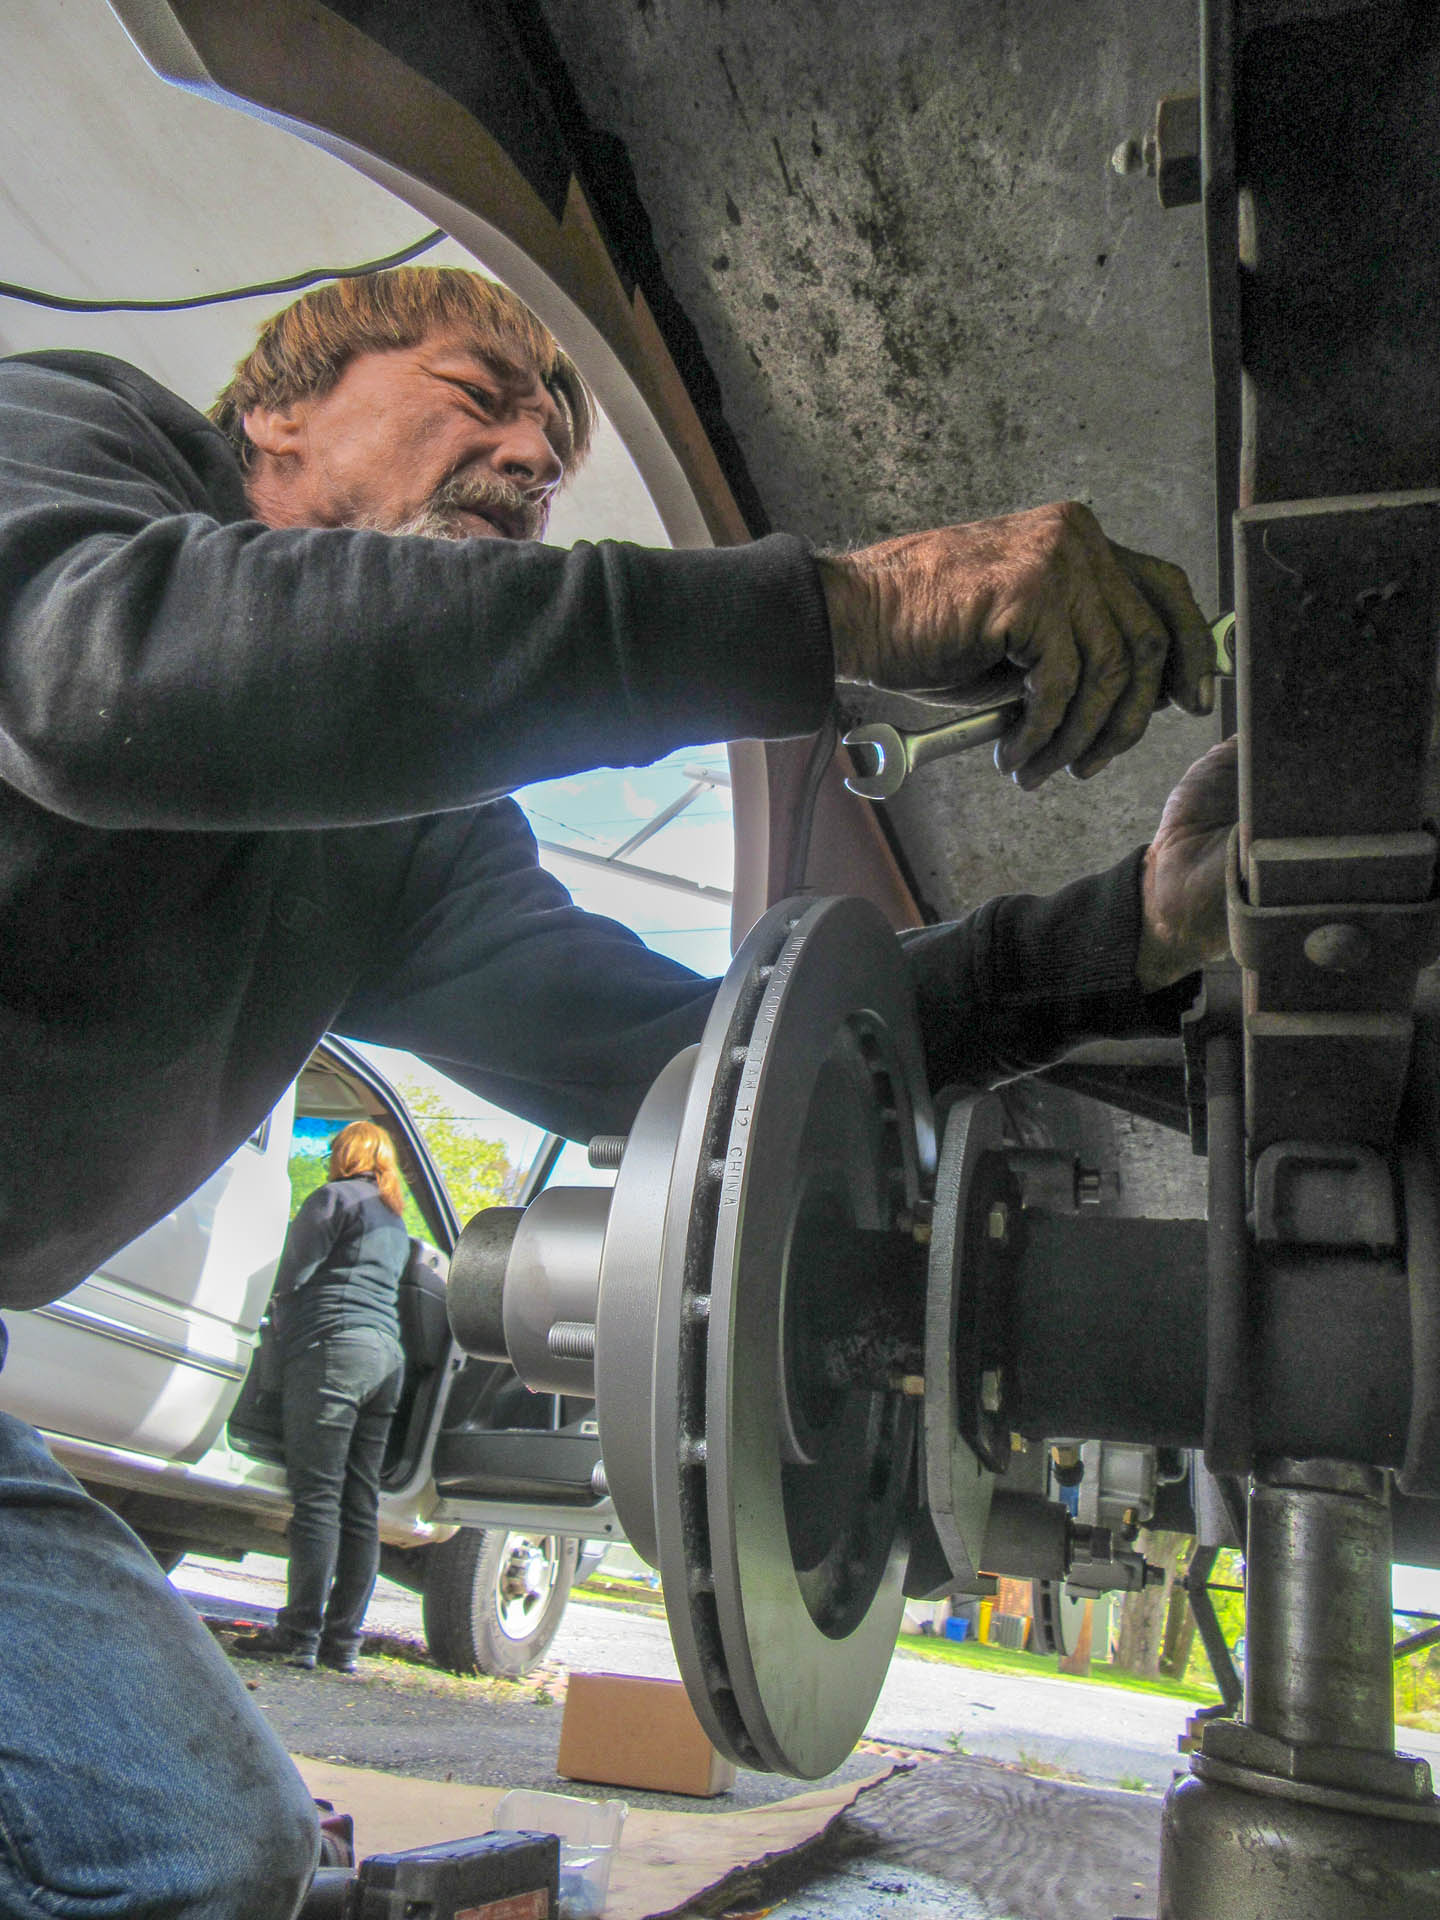
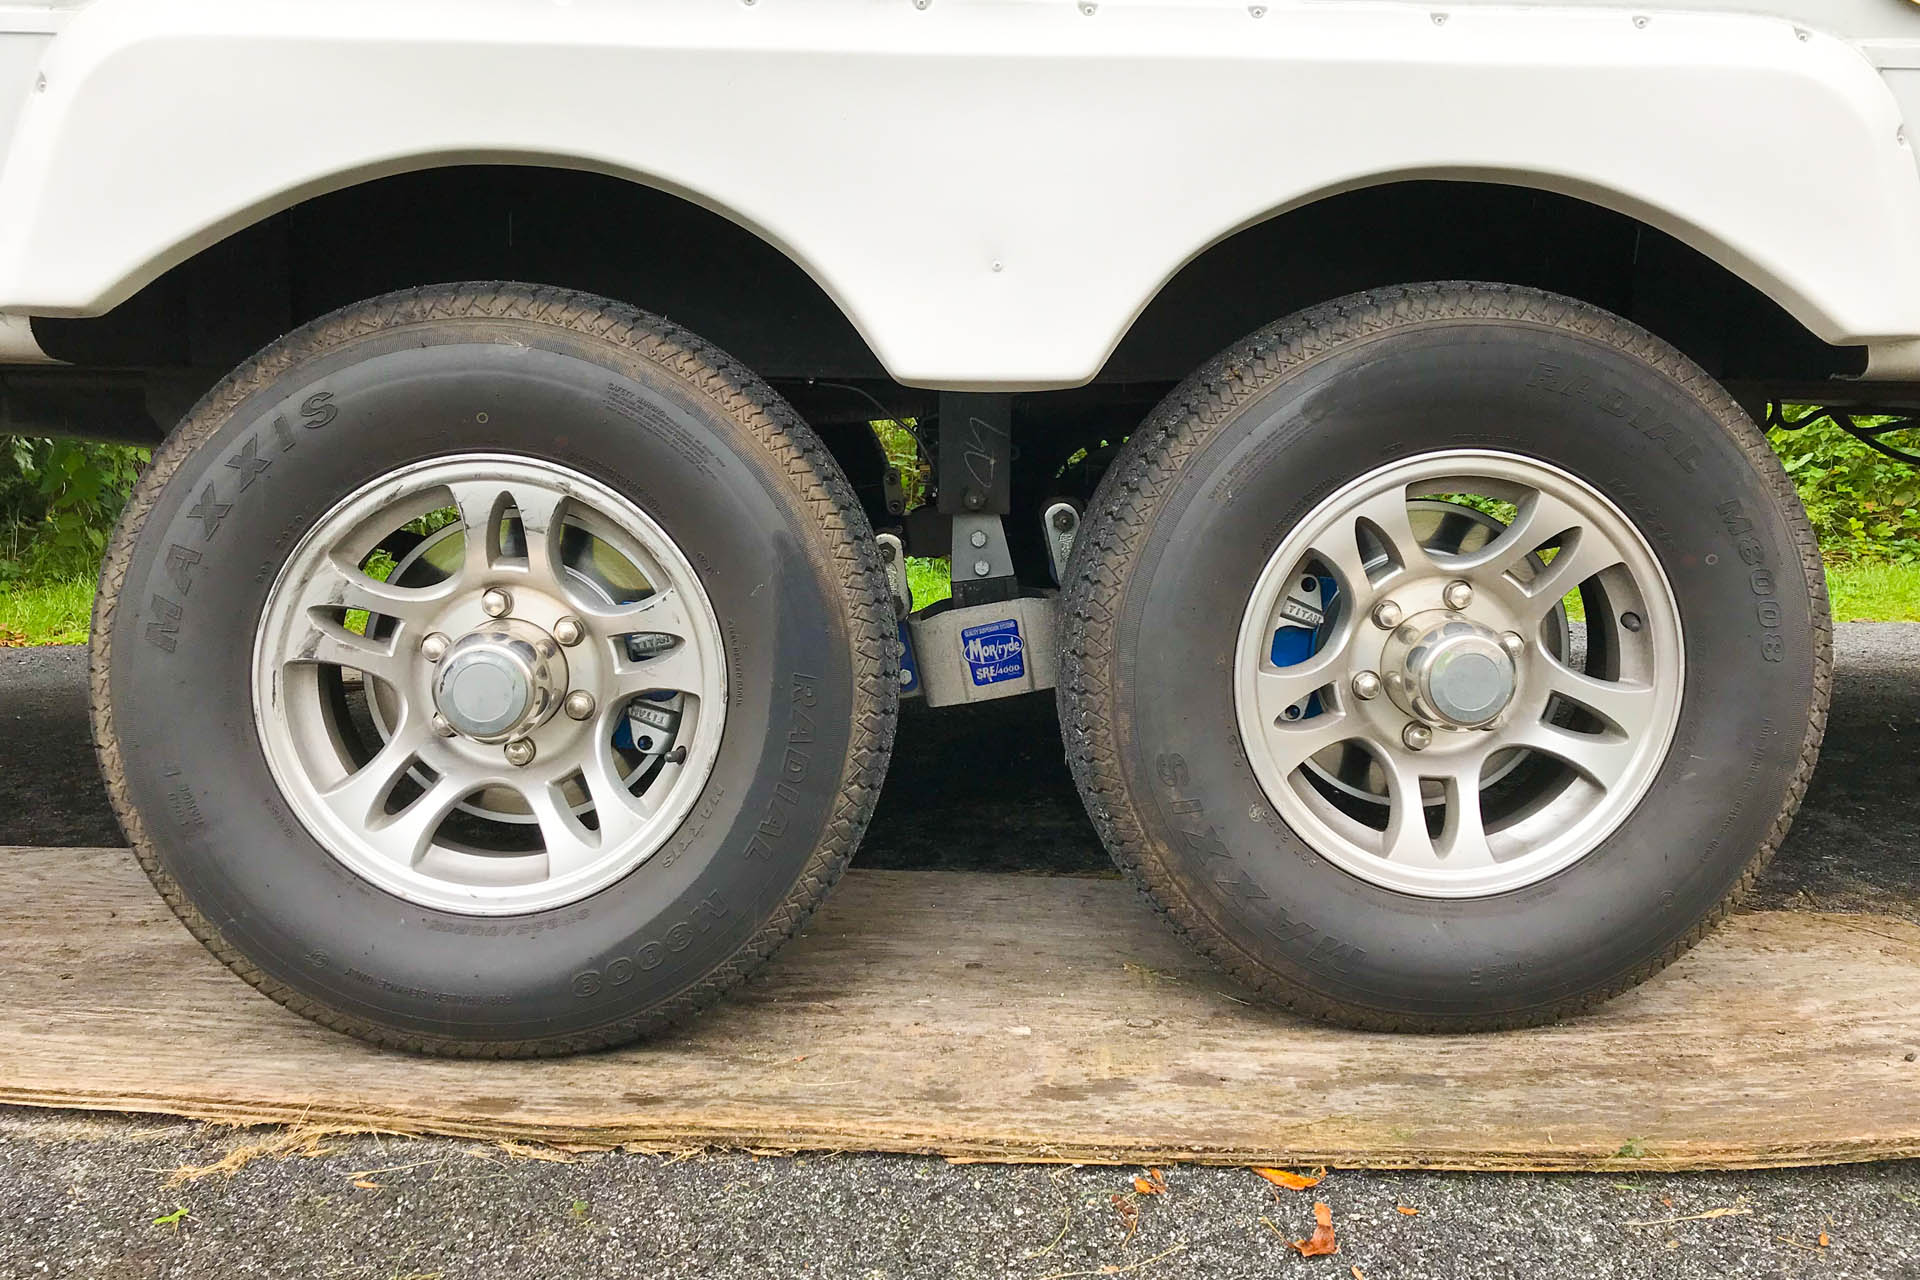
Enter Performance Trailer Braking. These folks do one thing primarily – convert standard electric trailer drum brakes to ‘electric over hydraulic’ disc brakes. (ok, a lot more really useful things, but that’s their main focus). These people ROCK! Michael and Kelly Barnett run a top notch service. They provide top quality materials and give you the option to do it yourself – or get this – have one of their installers COME TO YOU!
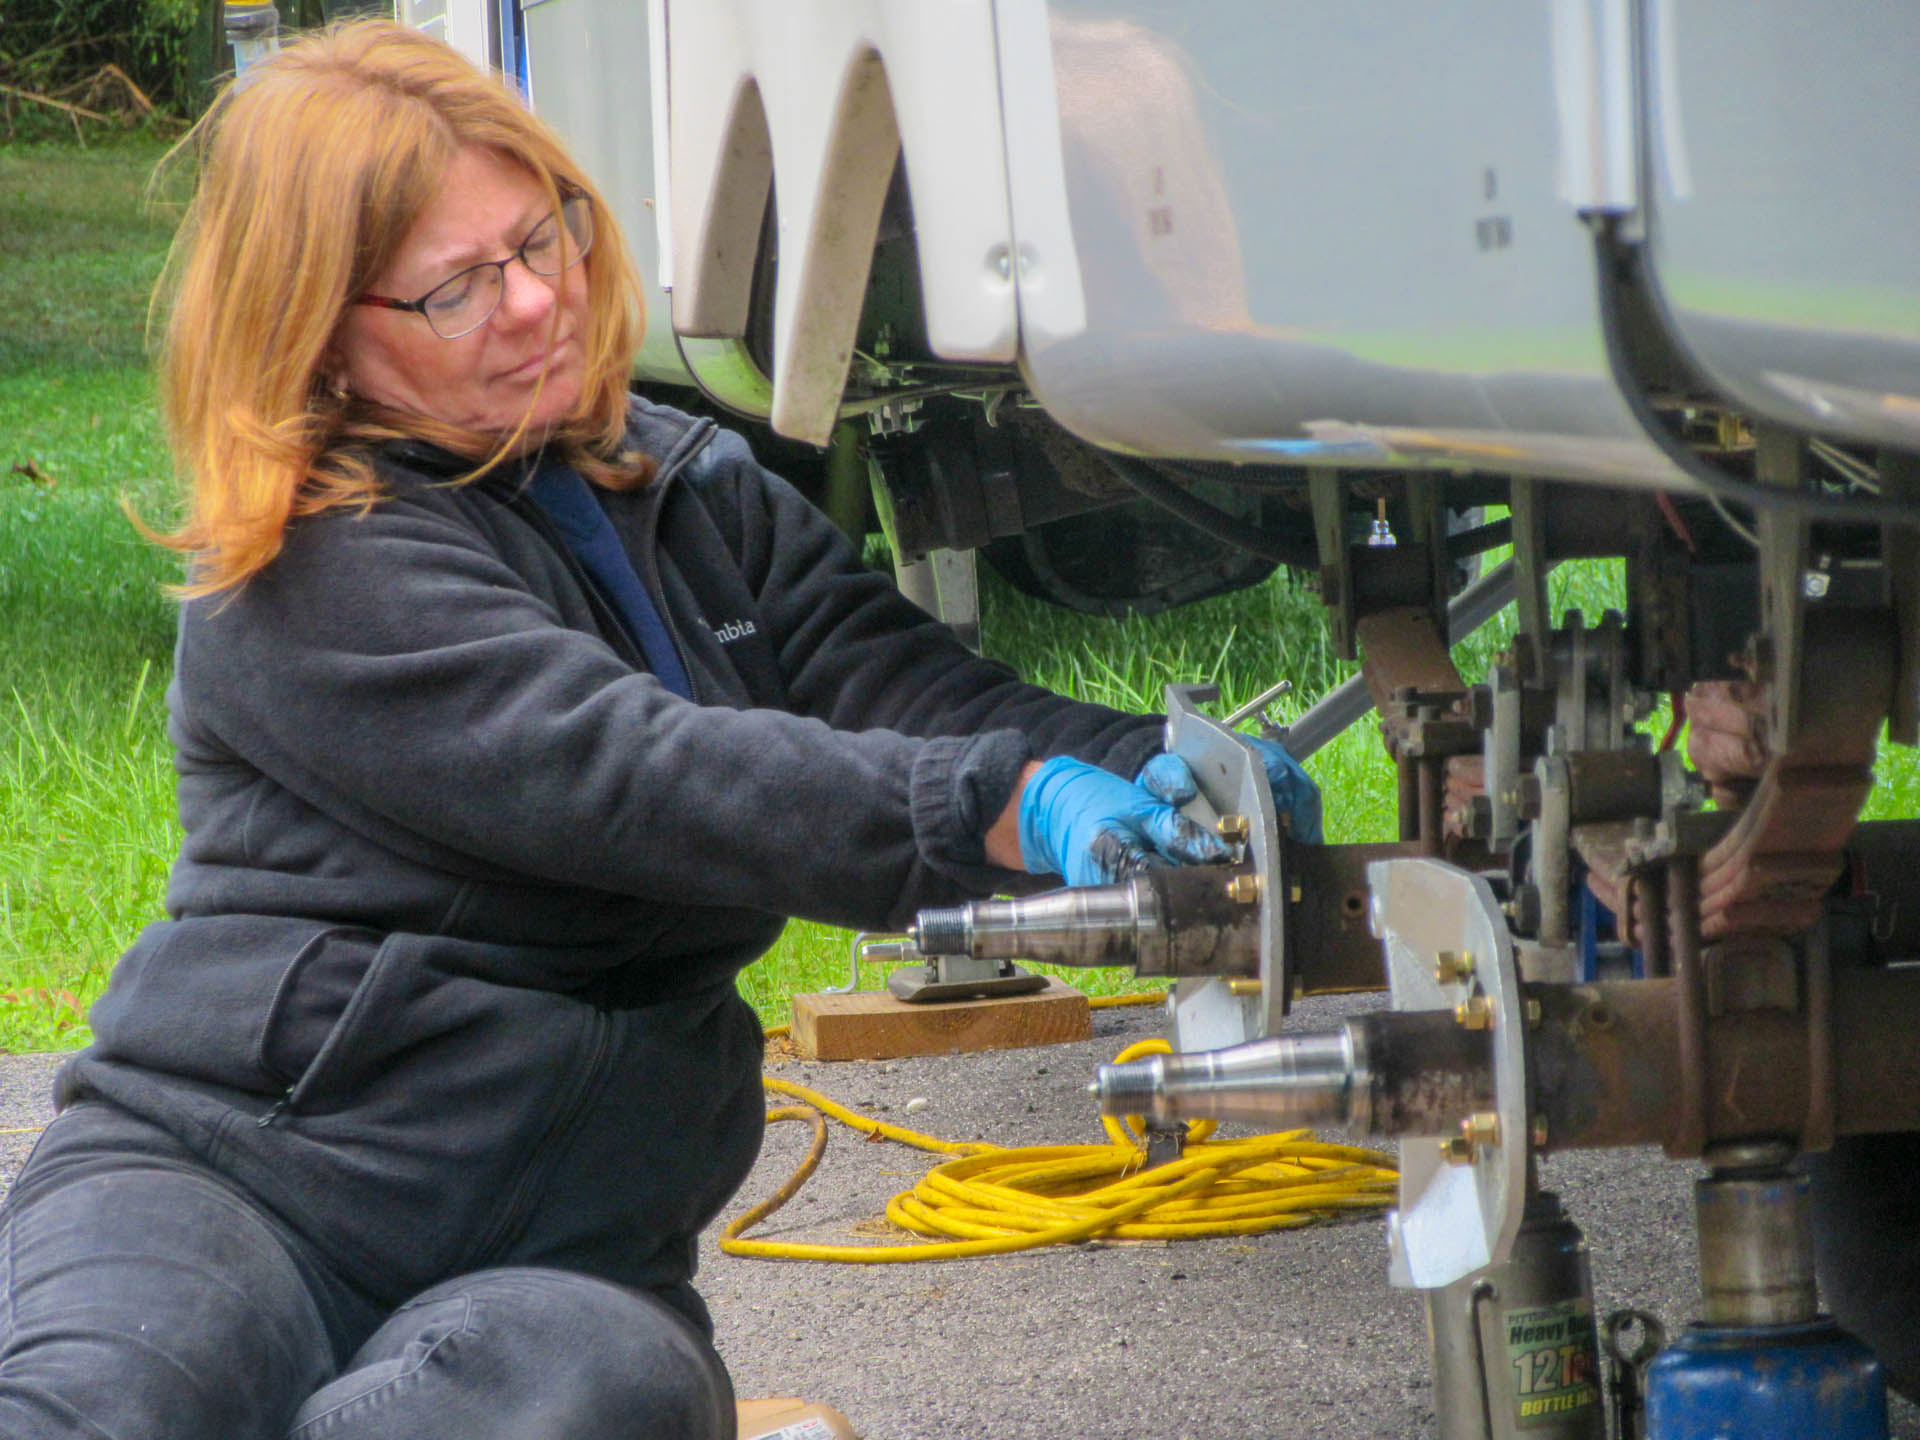
Now I (Mike) may be mechanically inclined but I just had no experience whatsoever, and these IMHO were too important to “YouTube It”. So we elected to have them do the installation. And they have no problem with, and actually encourage, “looking over their shoulder”! I love to learn, I like to know how to do things. They love ‘teaching’! The more you know how to do for yourself, the more you can get yourself out of a jam somewhere down the road.
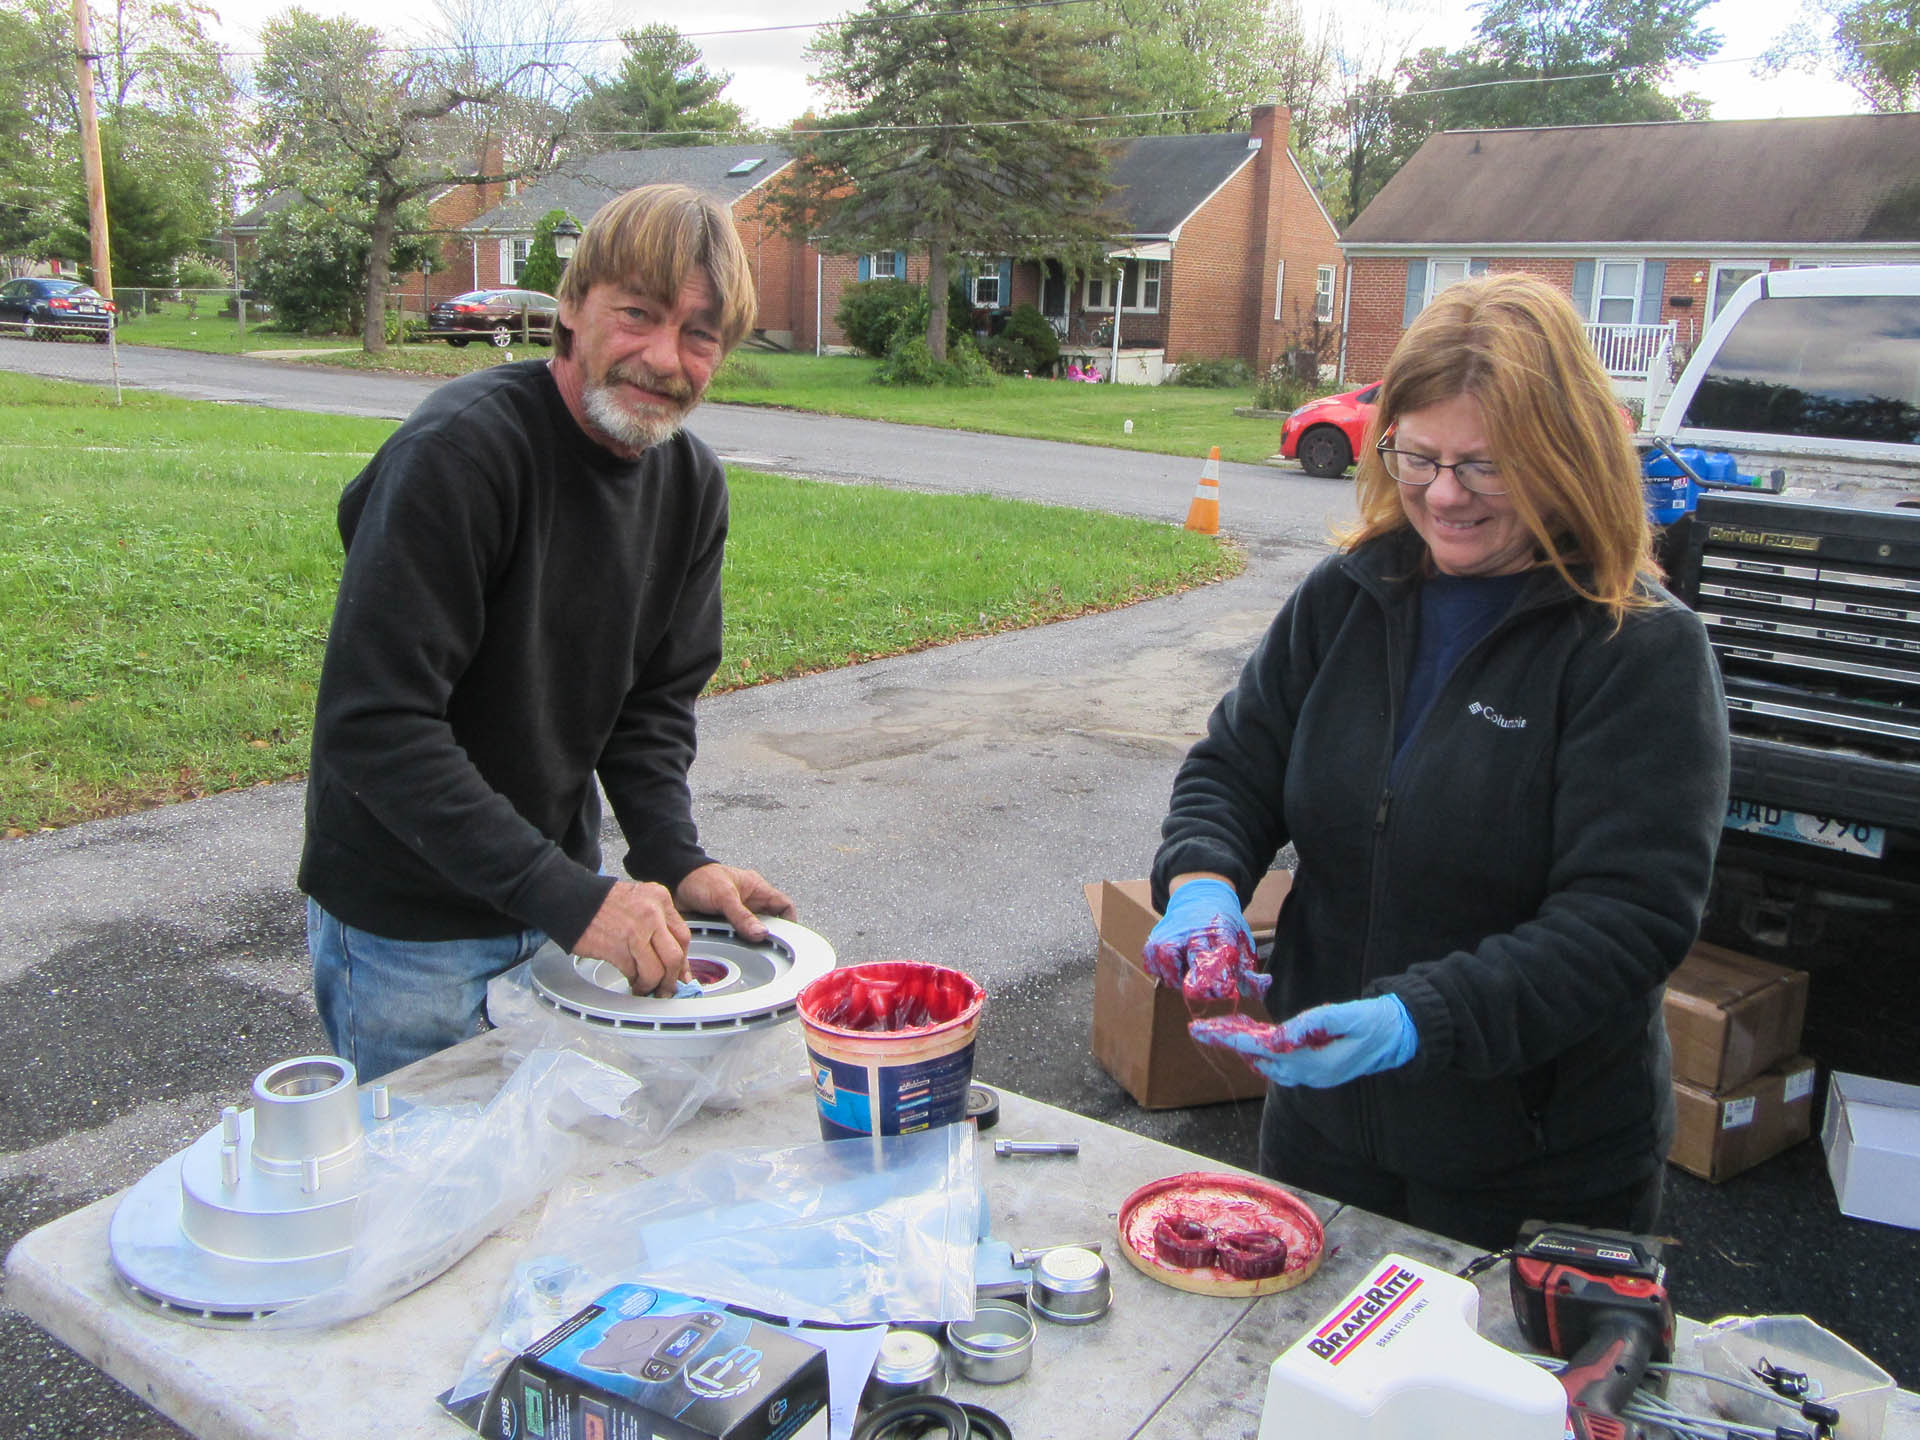
John and Barbara showed up early on a Saturday morning and by Saturday afternoon, we had completely stripped the old brakes off and had a brand new working system in place. They couldn’t have been more friendly and professional. Seriously, we just felt like ‘old friends’ right from the get go!
So, some pictures to follow. Note: (Shameless Self Promotion): Performance Trailer Braking has a Referral Program. IF you happen to stumble on this post and decide to eventually do this, from them … please mention us. YOU get a $50.00 discount, and we get some bucks too. But … honestly, truly … that doesn’t matter to us. They are great people with a top quality product. And … yes, I did ask several local shops in my area what it would cost – these folks were at LEAST half the cost and usually LESS than half the cost of what I could find in Baltimore that were even willing to do the work.
It’s only been one day as of this writing but, we took it out for a long test run and honestly, OMG what a difference. It took about 20 minutes at a local empty park and ride facility to completely fine tune the system but … once done … the truck and trailer truly feel “at one with each other”. Neither one feeling like one or the other is dominant. We tried city driving, we tried highway driving. Never once did I have to try to ‘work the controller’. And in a panic stop (yeah we kinda tried that too) .. yup – yer gonna stop like you’ve never believed you could stop before!
John and Barbara setting up shop on a table in our driveway
Anyone who’s ever owned a 5th wheel has almost assuredly had to deal with a little bit of ‘creep’ – and no, I don’t mean the weird guy across from your site that just stares at ya all day.
We used to call the noise it made in ours “Lucy” after Lucy in the Sky with Diamonds … ok, weird, but it worked for us. There’s this one part of the song where it almost sounds like a ‘moan’ …
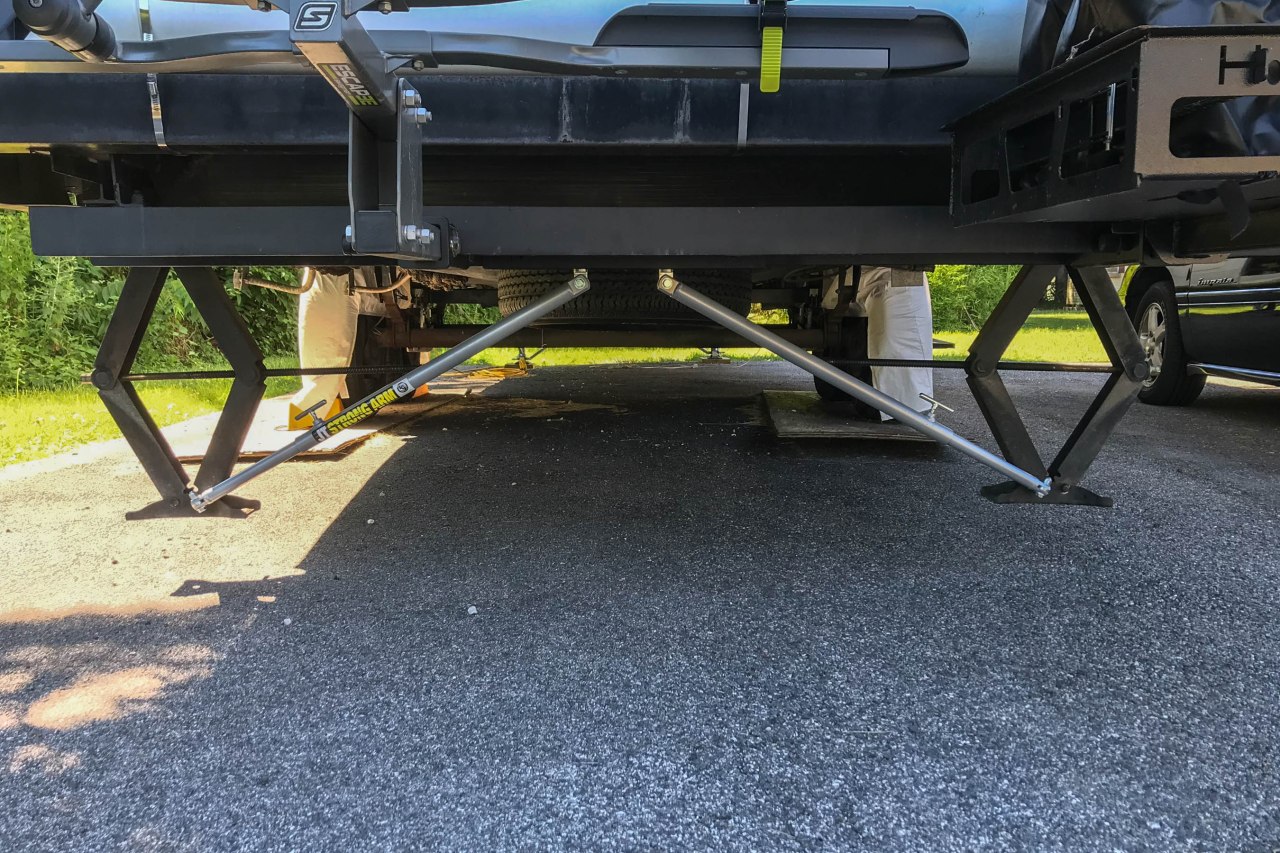
So, we researched a lot of the add on stabilizers, read review after review, and we considered king pin stabilizers too. The JT’s just had so many good reviews, and we didn’t want to give up more space to storing a kingpin stabilizer – so we went with them. Here’s a link: JT’s Strong Arm
We just finished our first major trip with them in place and OMG what a difference! In our humble opinion these are worth every dime (and blood, sweat, and tears installing them)! Rock solid is all we can say.
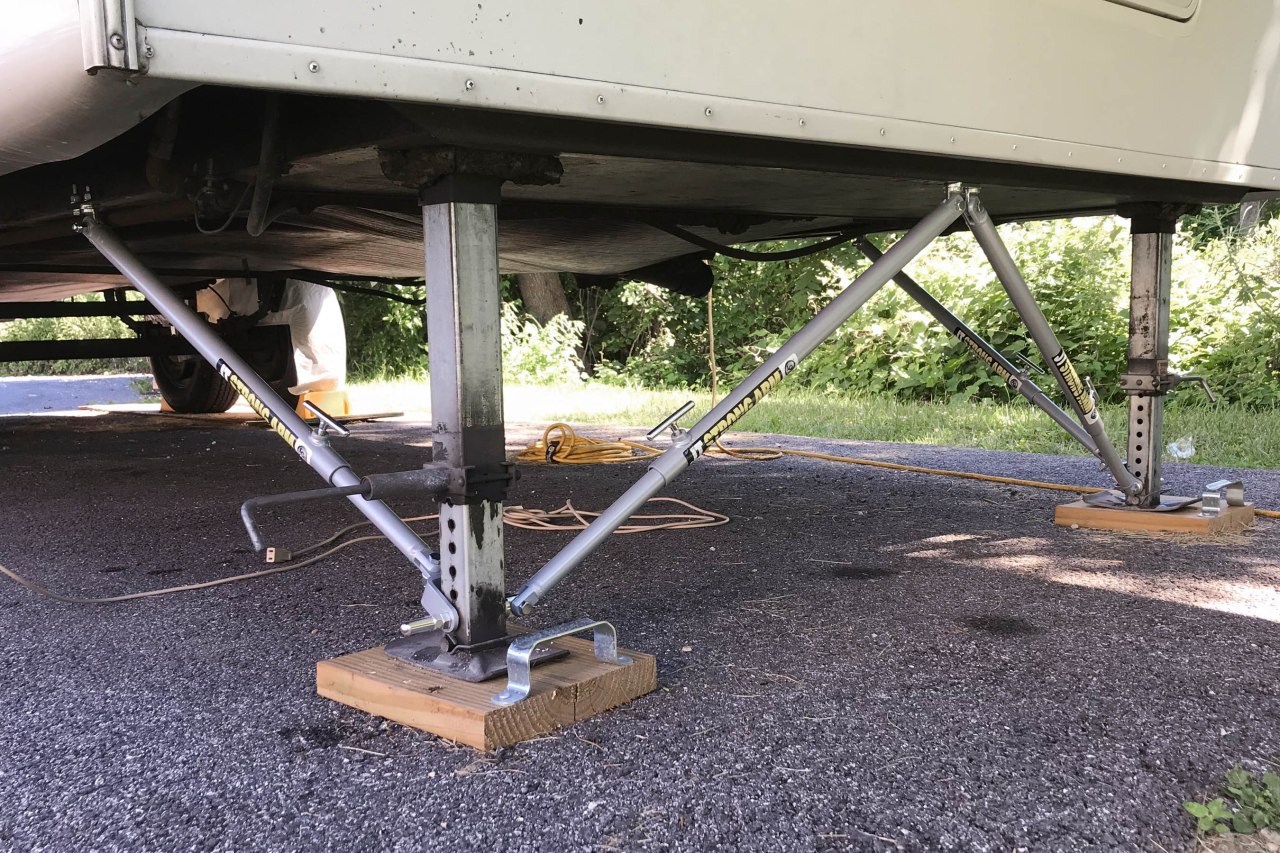
If you’re mechanically inclined and don’t mind spending time under your rig drilling thru steel (which is a challenge all by itself if you don’t know how), one can install these yourself. They come with pretty much everything you need hardware wise, more than enough actually. We only ran into one hiccup in that the rear stabilizers needed to attach to a steel horizontal surface within a certain position range. We didn’t have that. I called the company and they said they had several video’s online on installation and installation tips, so I checked it out. They showed a simple idea of using a piece of angle iron added across the frame. I didn’t quite have that, but previously we had added a custom rear hitch receiver system. I was able to attach a piece of angle iron to that in order to create a flat horizontal surface for the rear ones. They have a lot of other ideas for a lot of different situations and their tech support isn’t bad.
The bottom line is now we’re on stable ground with no shakes! We will miss Lucy though 🙂
This is the angle iron piece I had to add on the rear.
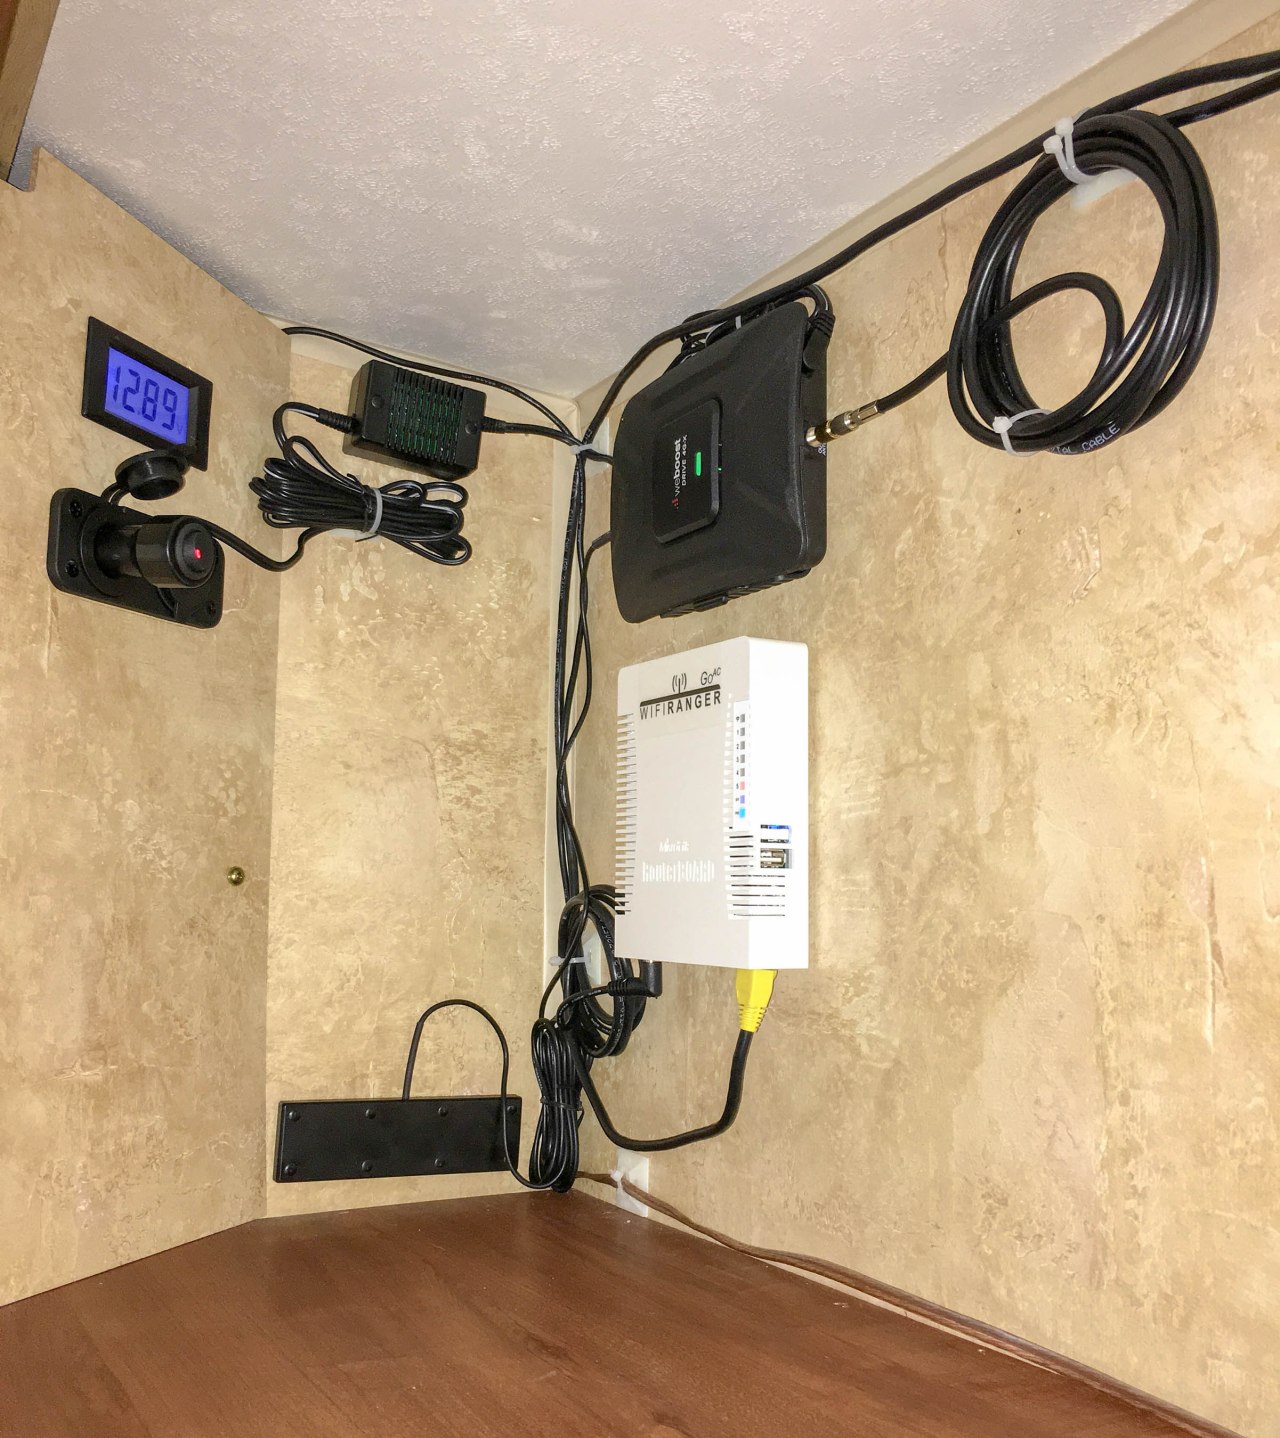
We’d like to start out by just saying THANK YOU to the Technomads Chris and Cherie, and their website RVMobileInternet. Without their website, their books, and a variety of social media they host, we’d have been totally lost.
There are many choices and many different solutions. We ended up choosing 2 primary components for the time being:
We will eventually need to get a MiFi/Jet Pack cellular device but we’re not quite ready for that yet.
The installation of these items can be done DIY, but be prepared for a significant amount of work, spending a fair amount of time on your roof, and contorting yourself in various ways to get wiring run and devices installed where you want them. For me though, the ‘thing’ I sweated the most over was ‘how am I going to get wire thru the roof to where I want it?’ I was dreading the idea of drilling holes in our rig. WE GOT LUCKY when a Eureka Moment was realized. We have an FM antenna on our roof almost exactly where the cabinet is and the gear will go! No new holes, just detach the existing antenna, run the wires thru the existing hole, re-attach and re-seal. I did have to drill one new hole to get the wires into the cabinet but that went well and I only sweated that out for a few minutes.
We had been debating for a long time about what to do about our bikes, and a generator.
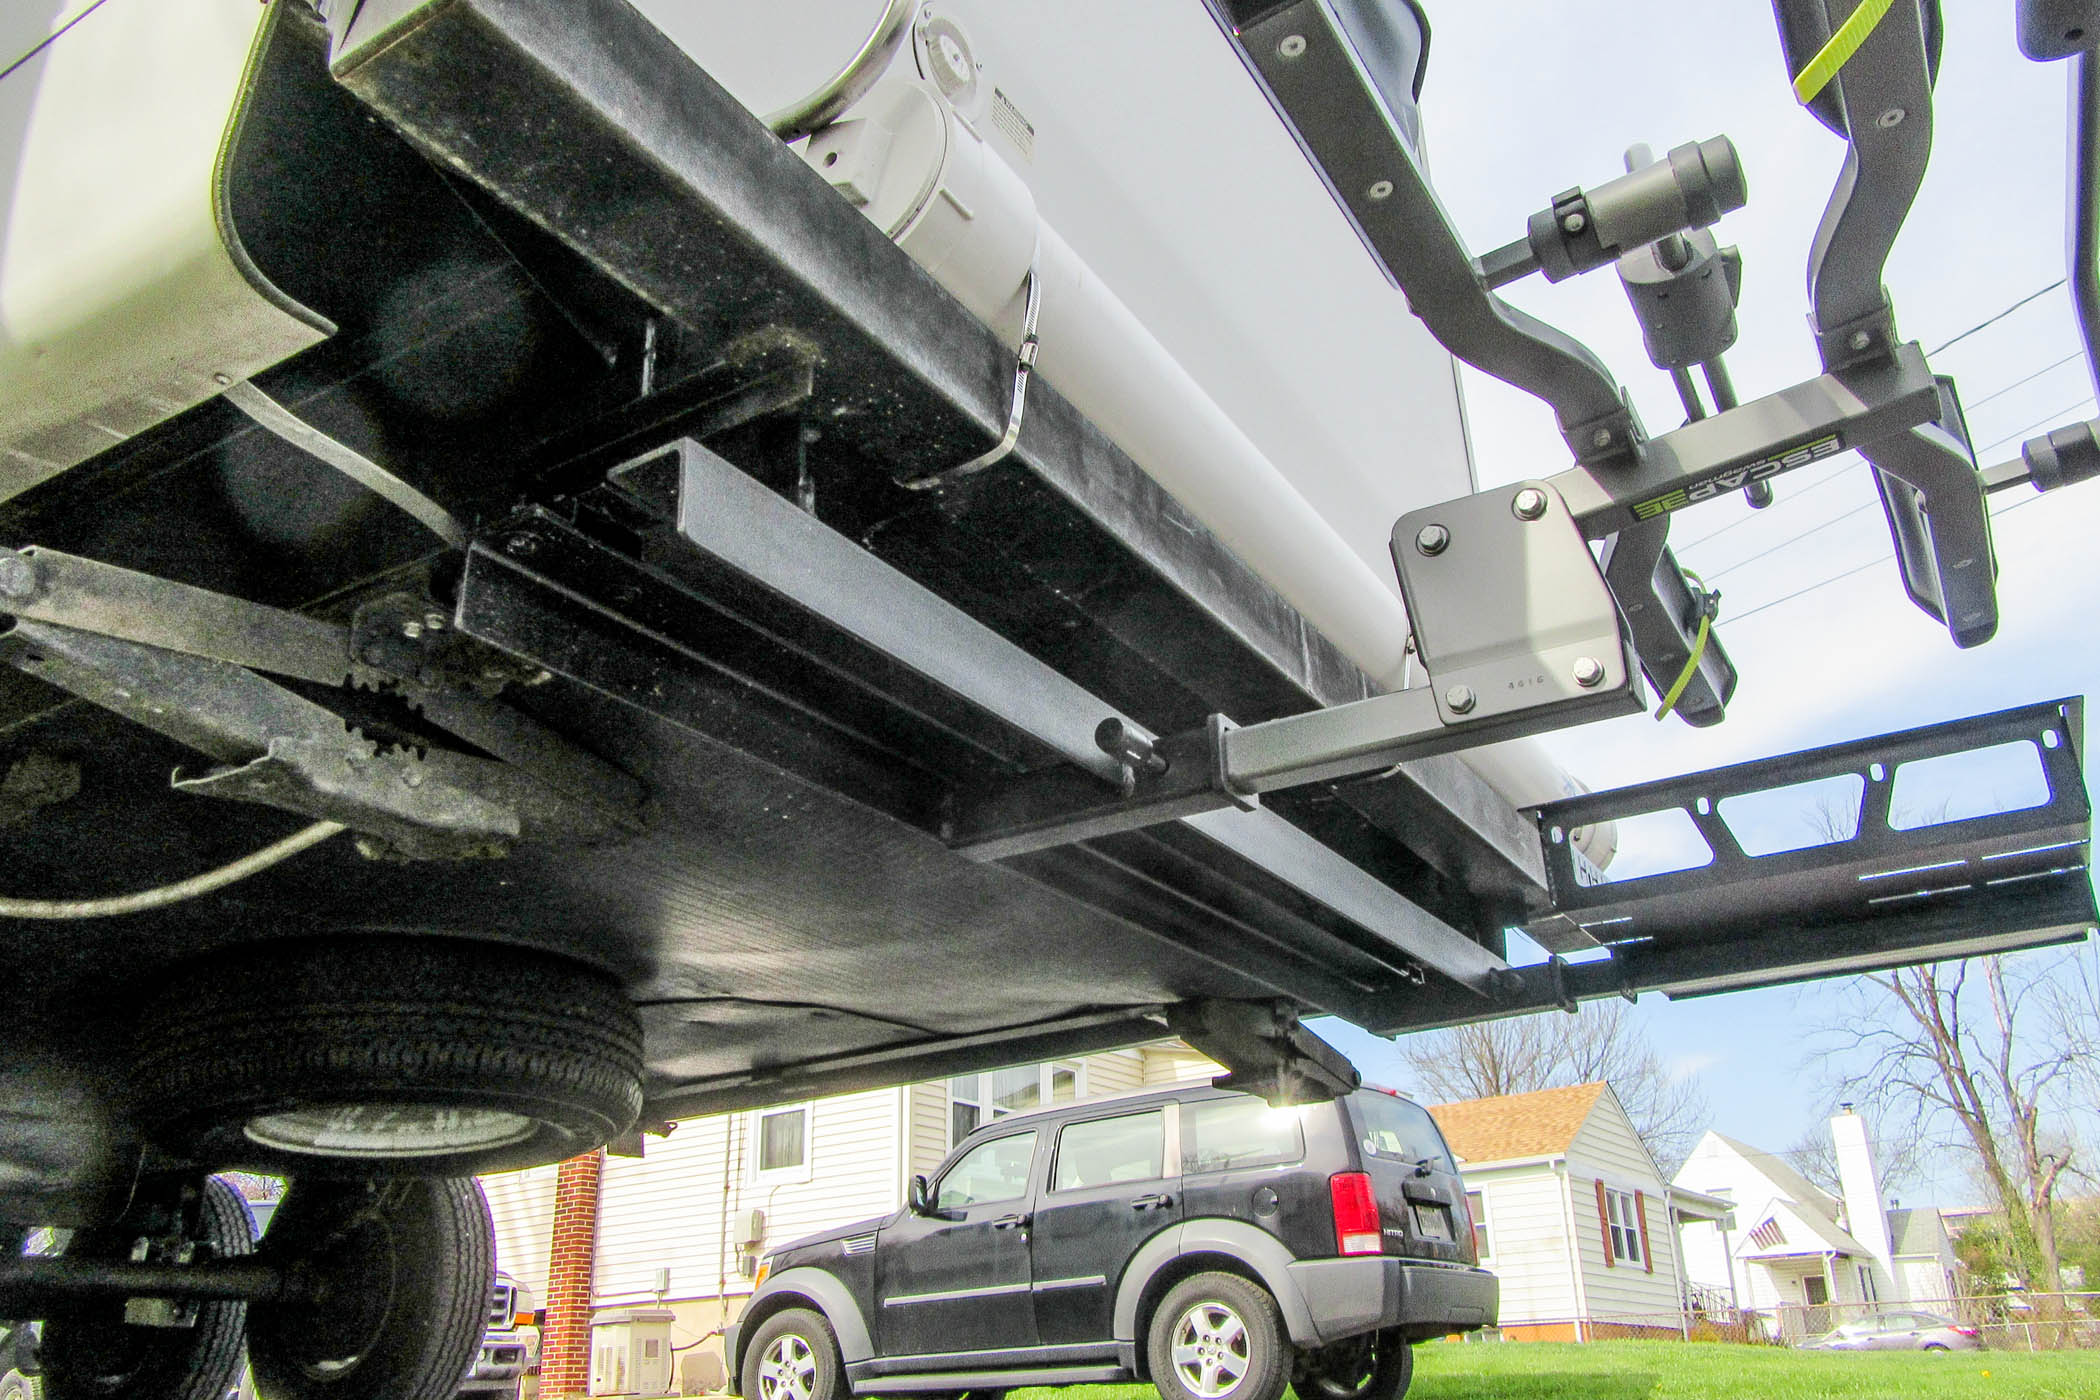
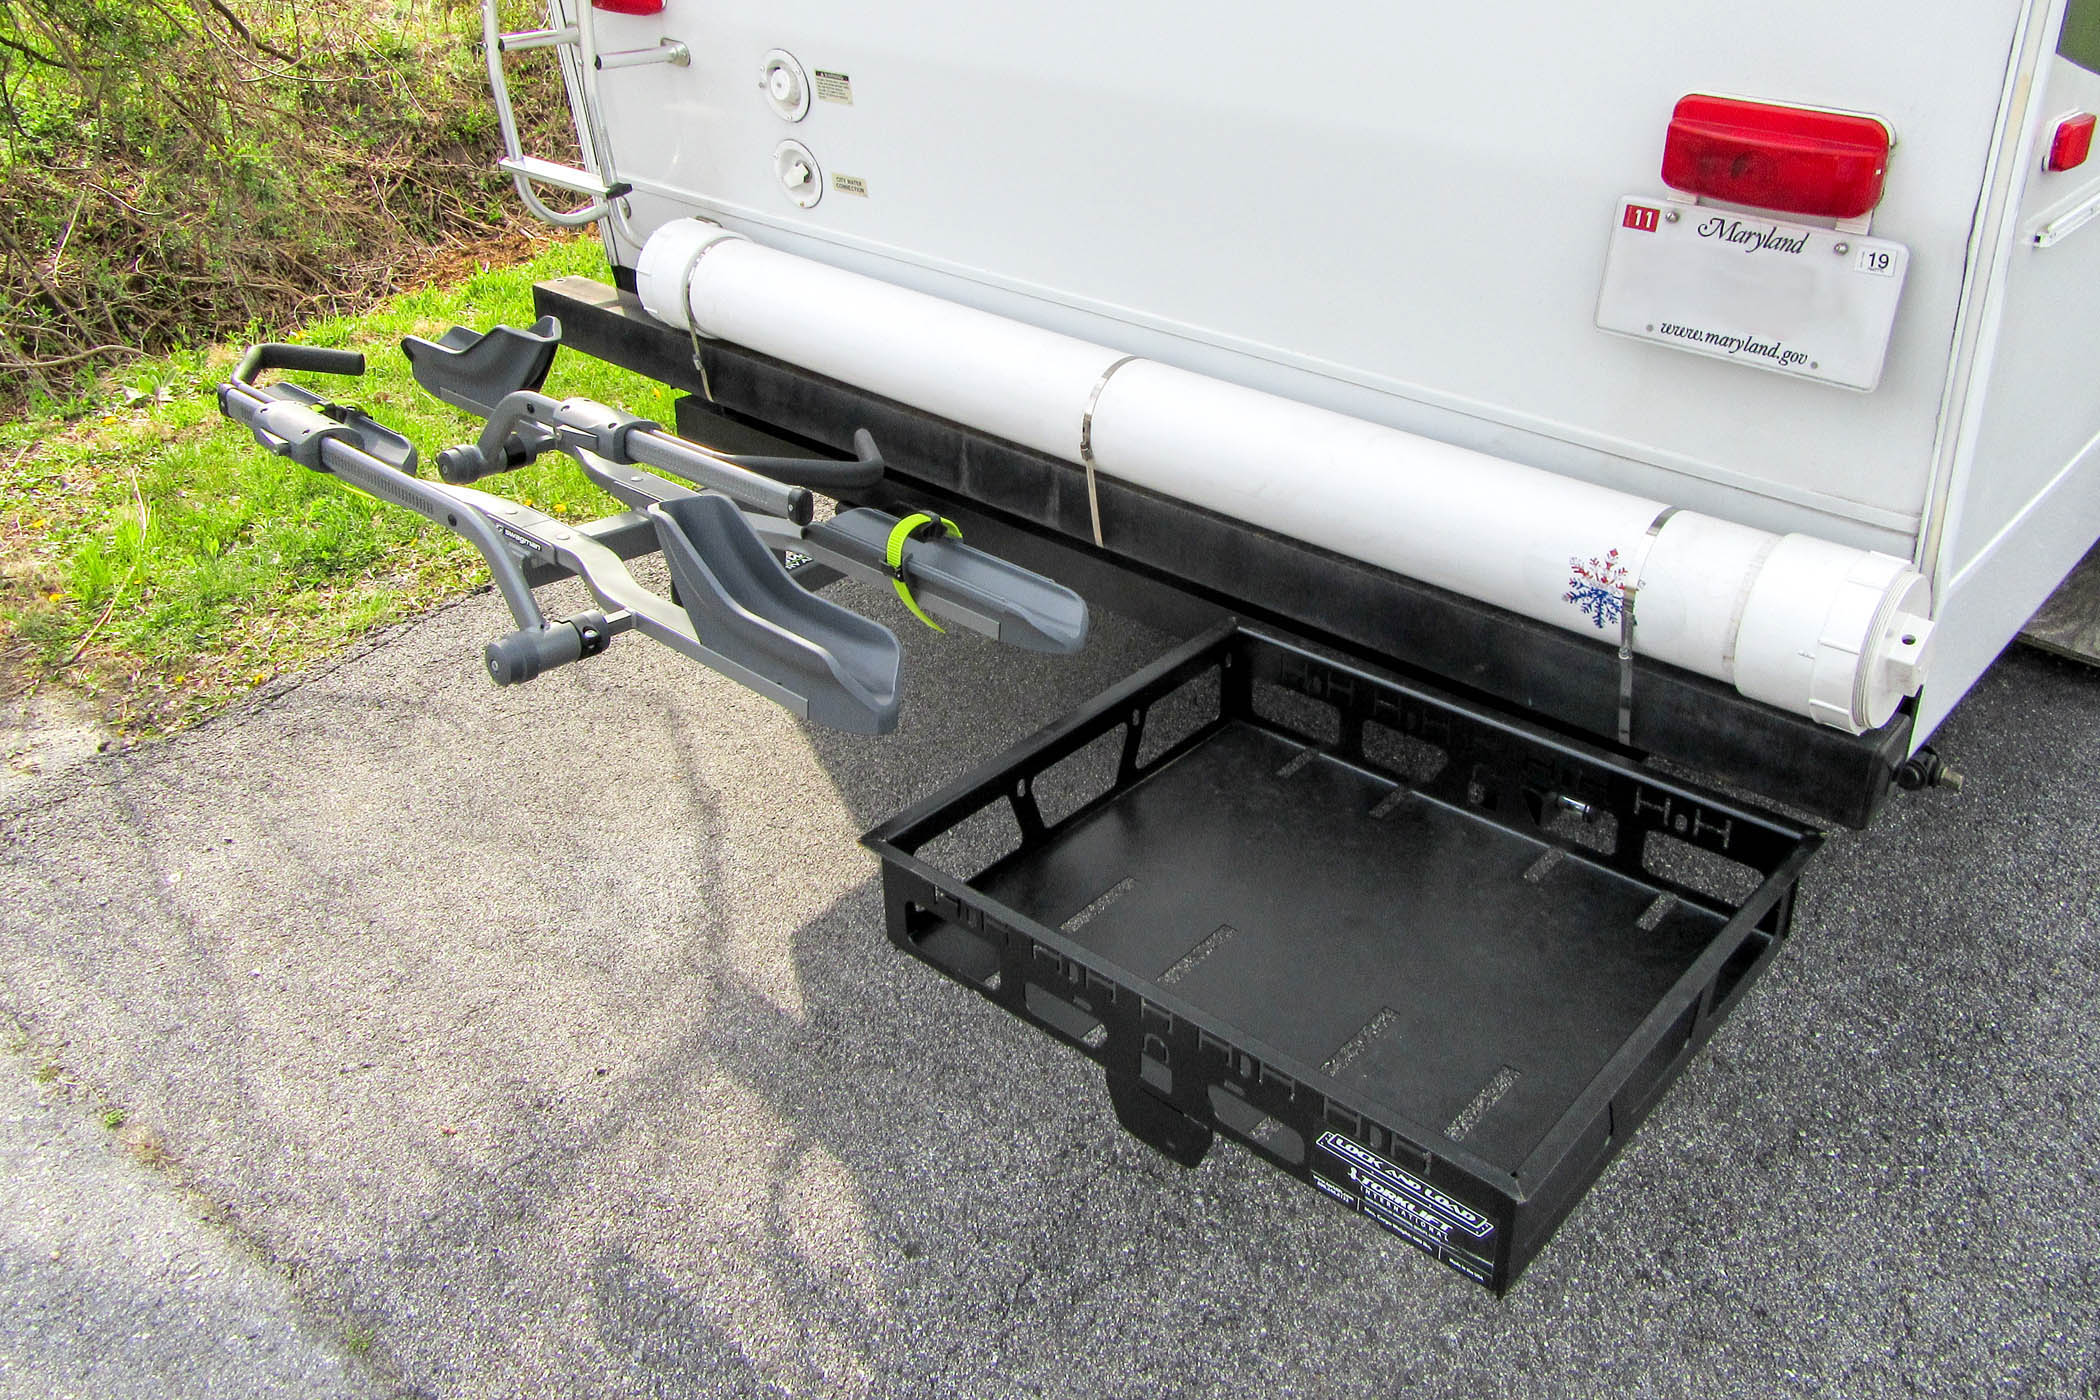
We’ve been using attachment points by Yakima called Locking Blockheads (https://www.yakima.com/locking-blockhead) in the bed of our truck. They work great but … it’s not the easiest thing to use with a 5r. You’re either putting the bikes in first, then trying to hitch up looking thru the bikes, or hitching up first then trying to lift the bikes up into the bed and getting them attached afterwards. It works but … after a while, it’s really a nuisance and a half. We really wanted a rear mounted receiver hitch style bike mount on the back of the trailer. After going to a bunch of bike shops and online research, we decided on a Swagman Escapee (https://www.swagman.net/product/escapee/). What we found a lot is that most bike racks are not approved by most manufactures for rear trailer mounts. There is a lot of constant force applied to a bike rack at the rear of a trailer and most manufacturers won’t certify that their racks can handle these forces. This Swagman is RV Approved.
We also have decided we want a generator. We may not use it often but we want the option to have AC power if we go boondocking or primitive camping. We looked and looked and decided we wanted a generator tray on the back that would lock the generator in place. I didn’t want to keep it in the bed of the truck and have to constantly lift it in and out. We decided to buy a Harbor Freight Predator 3500W generator (https://www.harborfreight.com/engines-generators/inverter-generators/3500-watt-super-quiet-inverter-generator-63584.html). Honda’s are pretty much the ‘king’ of portable generators but … they ain’t cheap. The Predator has great reviews online, nobody who has one hates them. They’re quiet, probably about as quiet as the Honda … and you can buy the 3500W unit for significantly LESS than the Honda 2000W unit. We found one tray just for generators that looked ideal. The Torklift Lock and Load (https://www.torklift.com/rv/lock-and-load)
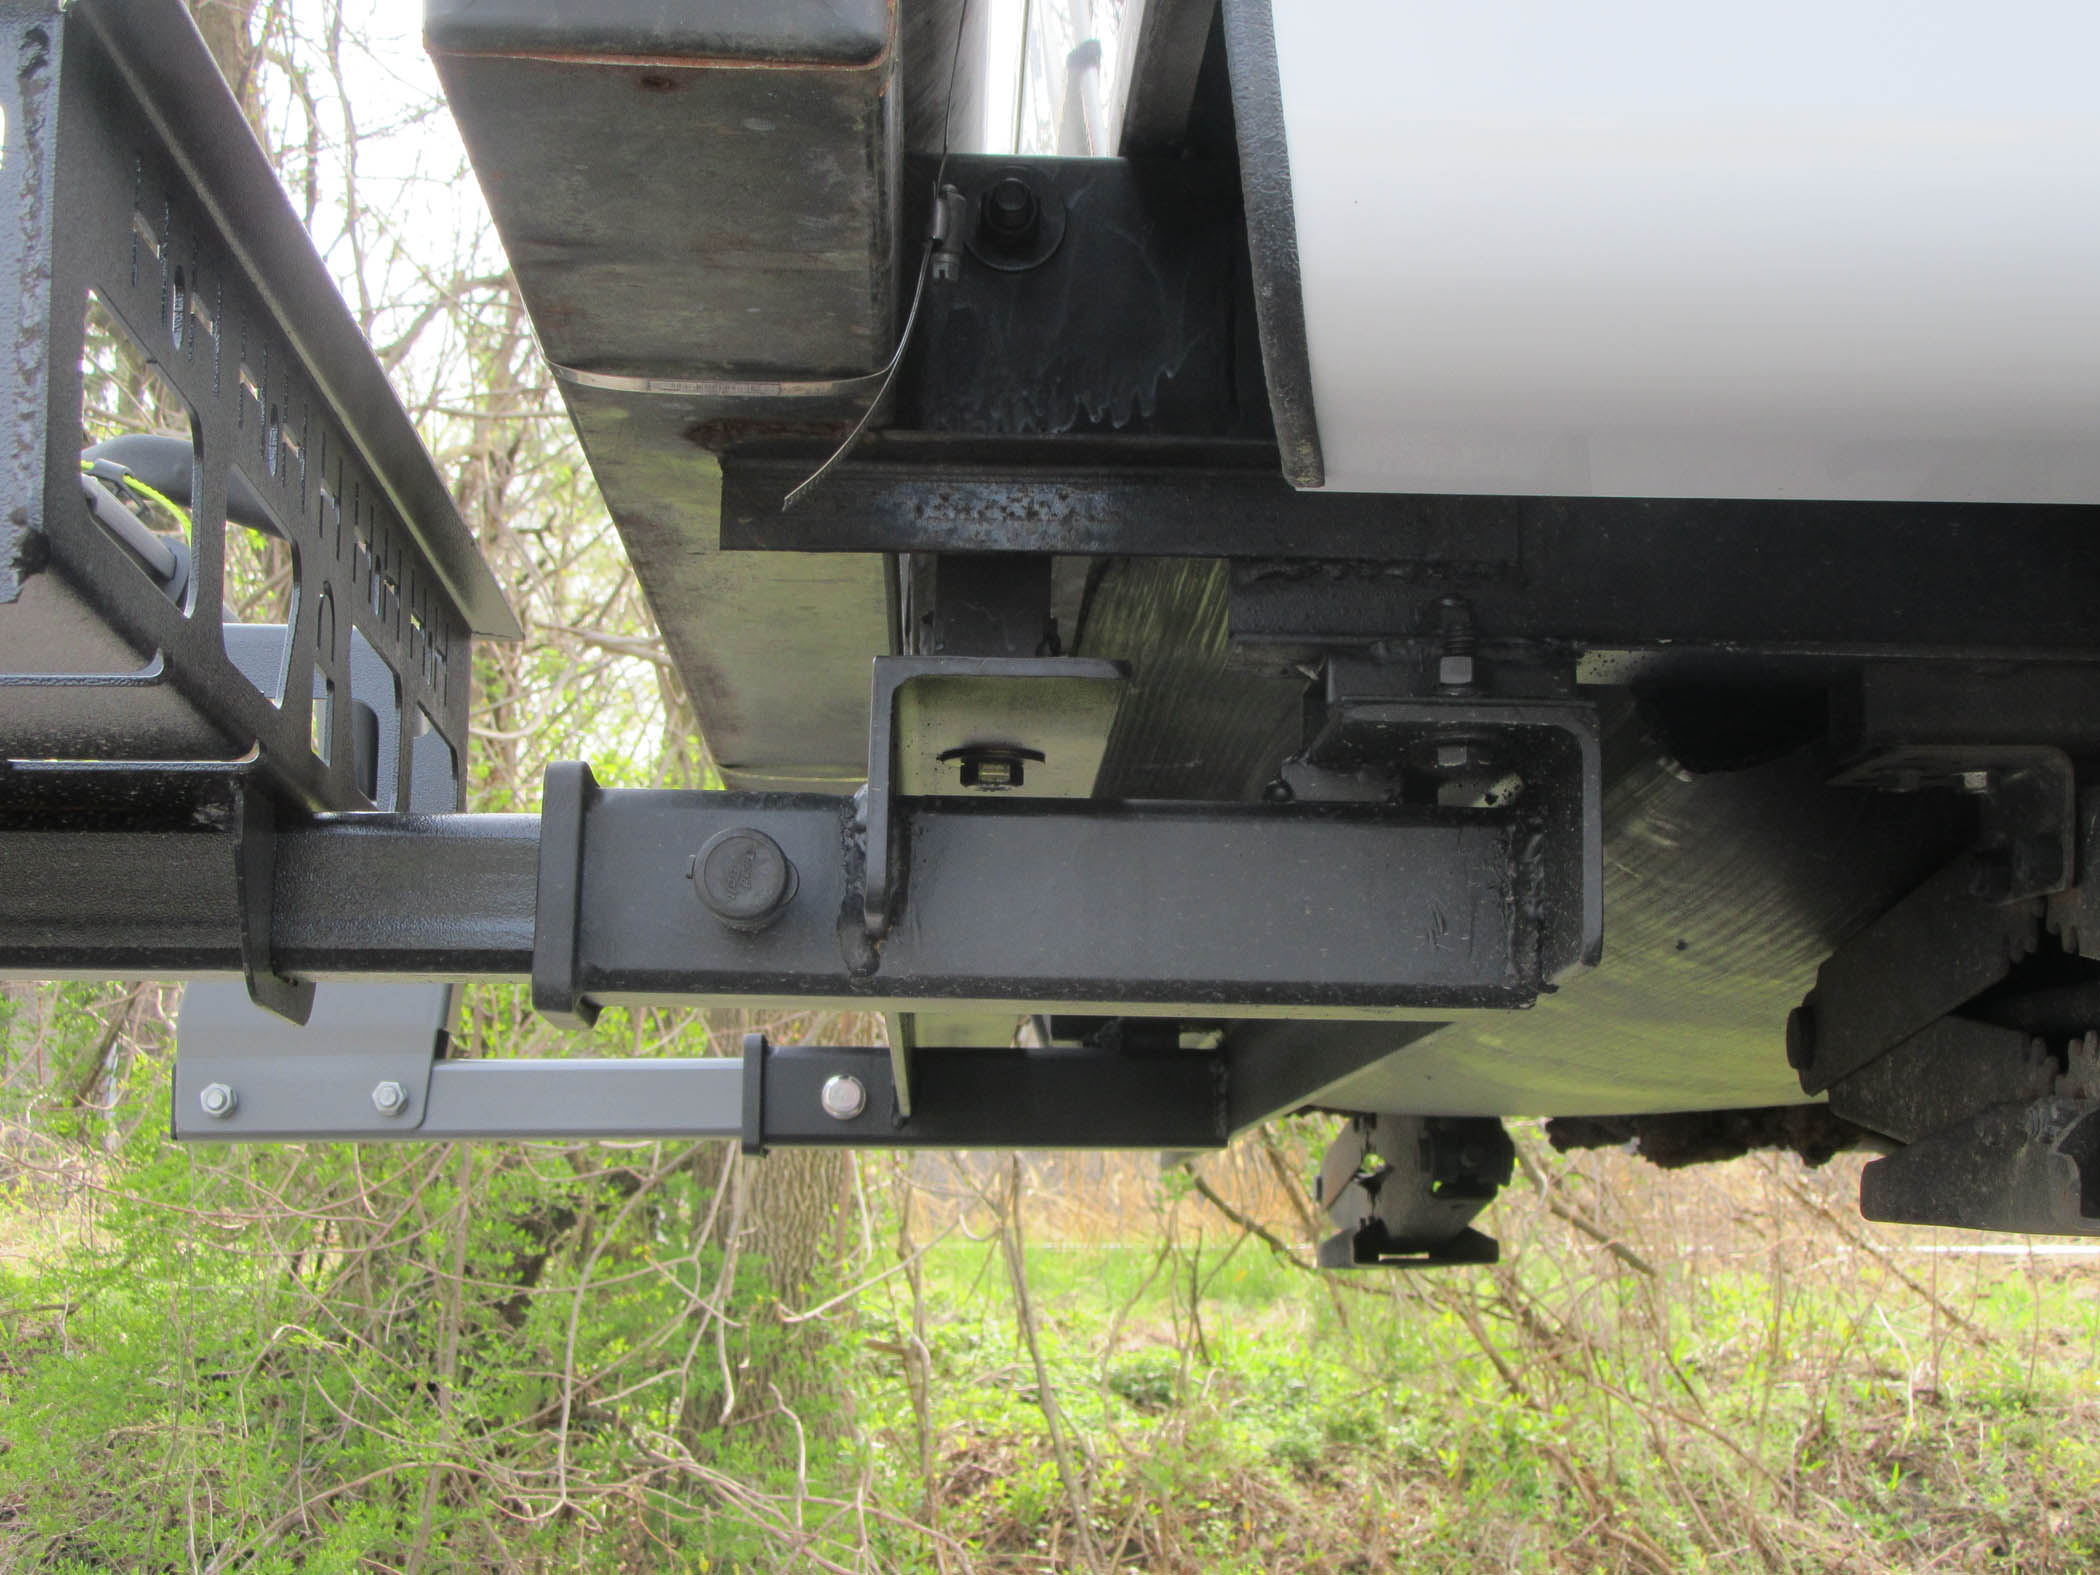
We considered a bunch of different cargo trays but what I objected to most was the fact that just about every one I saw, was a single center receiver hitch mount. Our setup was going to be a fairly significant amount of weight. I didn’t want to rely on just one receiver. And to add to the dilemma, our rig wasn’t setup for ANY kind of rear receiver hitch capability at all. So … we decided to have a dual receiver custom built hitch system added directly to the frame of our rig. We have an RV repair center in our area called Jim Donnie’s (http://www.jimdonnies.com/) that besides doing RV work, also builds or modifies custom rigs like food trucks and custom trailers. So we enlisted them to design and install our custom two receiver hitch system to handle both the bike rack and the generator tray.
How hard can it be right? (Famous last words I assure you). Let me tell you, manufacturers of these things give you ALL KINDS of dimensions on what it will fit, where the plumbing fittings are etc. … but … well hell, not for ours. They give you dims on the centerline of the base, how far back to the wall you need, how far to the side you need … ALL FINE AND DANDY … BUT… what if your installation is in a corner … diagonally placed? Well, thankfully I could make a few adjustments to where the water line comes thru the floor, I only needed about an inch and a half. And the floor plate thankfully I could move a half inch or so. But we made it work.
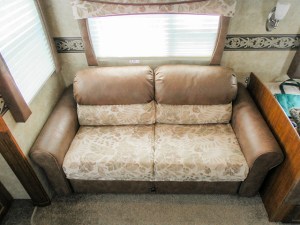
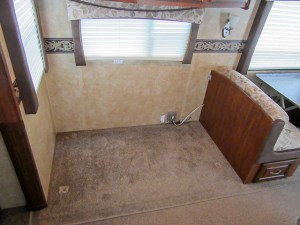
We decided that we really had no use for our sofa bed, and we really need a desk. Once we go full time we’ll need someplace to ‘take care of business’ (Yeah, go ahead, hum Bachman-Turner Overdrive, to yourself please 😊 ).
We kicked around the idea of just going to Ikea and finding a nice small kitchen cabinet and a countertop. We had what we thought was a great selection picked out and we were just about ready to “go do”. You’ve heard the expression “a funny thing happened on the way to the forum”? … well…
We went to Lowes, just to take one last look at their cabinet selections and we happened to walk past their countertop laminates. Lo and behold – THEY HAD THE EXACT LAMINATE used throughout our rig! Hmmmm, … a sign! Needless to say, we now have a set of cabinets that almost match the existing cabinetry in our rig and a countertop that does exactly! The desk is large enough that we can both sit at it and work on our laptops … and neither of us need to wear elbow pads to keep the bruising to a minimum – at least unintentionally 😊. And … we managed to sell the old sofa on CraigsList for a fair price to help cover the cost!
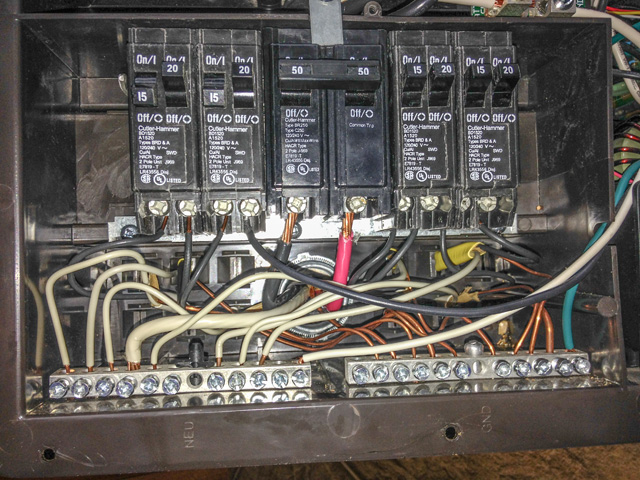
We read a lot of articles over the years about unlucky campers who have been in less-than-great campgrounds with poor power. Without going into debate here, we decided we should protect our rig from not only surges, but also bad grounding, reversed polarity, and low voltage. To our knowledge there are basically two manufacturers common in the industry and we chose Progressive Industries. They have external and internal units and we further chose a permanently mounted internal unit. This way it’s always there, it’s always available, it can be controlled from inside the rig, and unless someone wants to break into our rig and take apart our electrical system – it’s theft proof. Our rig is 50Amp capable so we chose the EMS-LCHW50
LOL, I also chose to install it myself for some unknown reason … I’m no electrician and working with 10 gauge wire is not fun for me. But it worked! Their instructions are very thorough and easy to understand for the layman. You don’t have to be an electrician, just have some common sense and be a little bit handy … and patient.
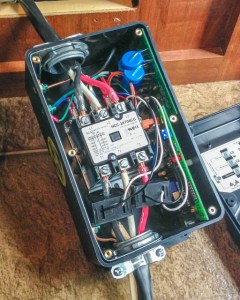
First, a reference picture of the electrical panel just in case … before hand.
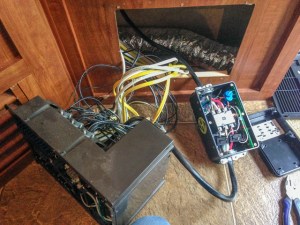
The electrical panel out and the PI unit off to the side … just sitting there waiting for me to cut the big black wire … (yikes, maybe a beer first … maybe two … nahhhhh)
The wiring is done! (10 gauge wire is not fun, another beer is in order!)
The finished installation! Everything is tucked up inside the cavity where the electrical panel is and the small controller/display panel fits well just above and to the left. It has a simple single wire that runs to it from the main box.
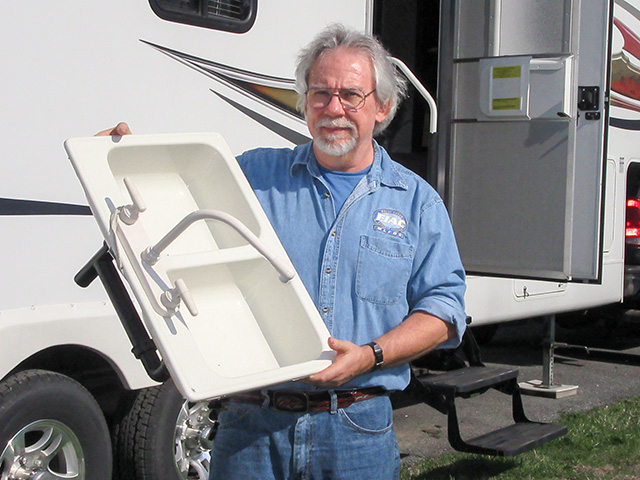
We really didn’t like the plastic “RV” double sink that came with the camper and knew eventually we’d want a residential style sink. I’ve never put one in before but figured I could do it. We bought one at Home Depot and the only real difference was we bought one with a 7” deep bowl instead of what appears to be a standard of 8” deep.
Here I am all proud of myself, I got the old sink out … without breaking it if I need to put it back!
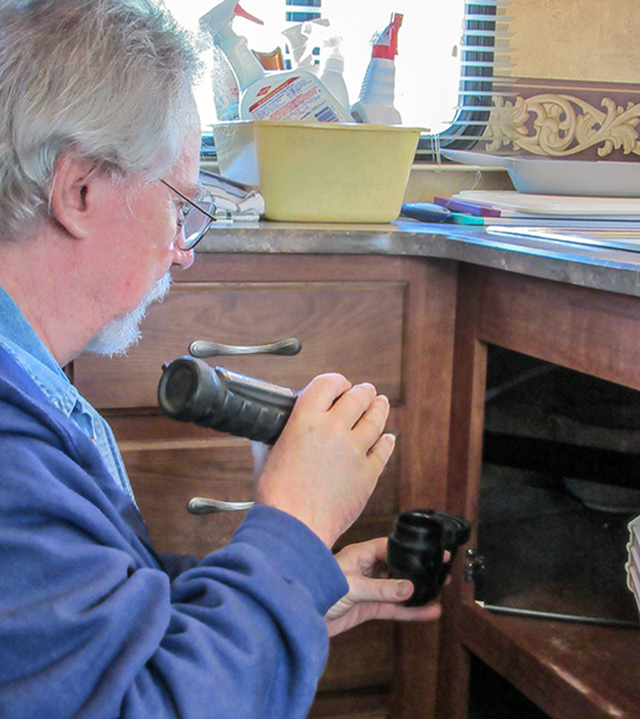
Me … staring at the plumbing underneath figuring “I can pull this off … I think … and if not, I call a plumber”. Kinda the old saying ‘I’m sure somebody can fix whatever I screw up’.
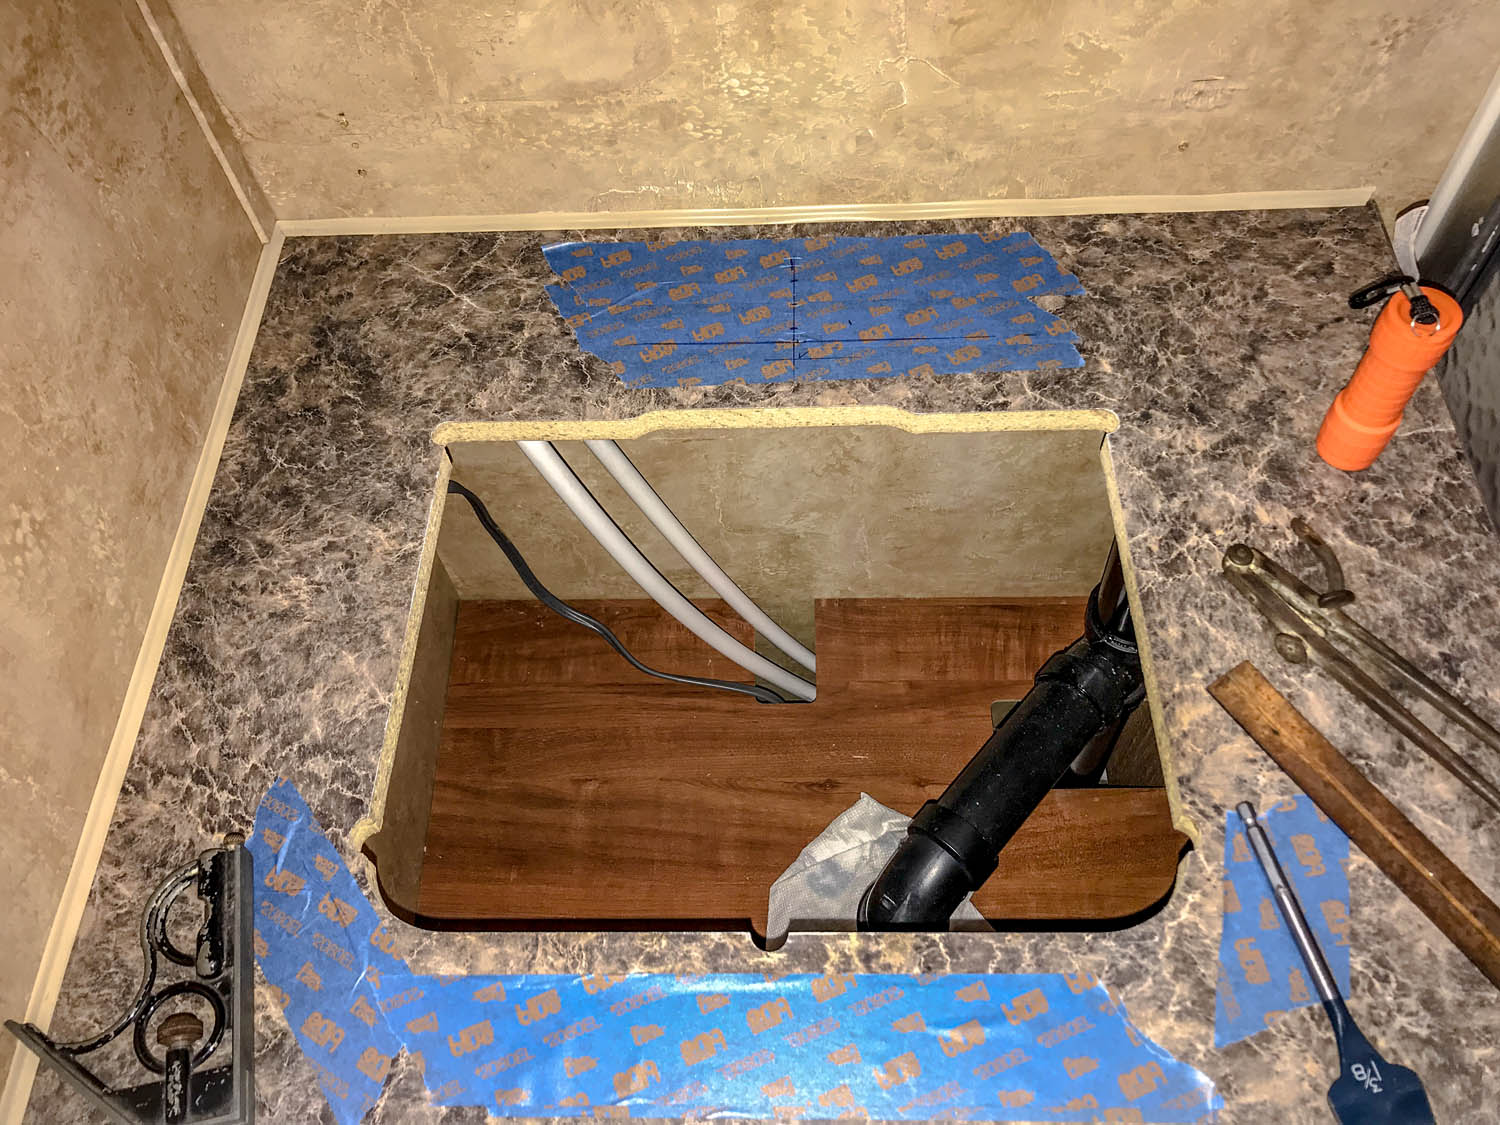
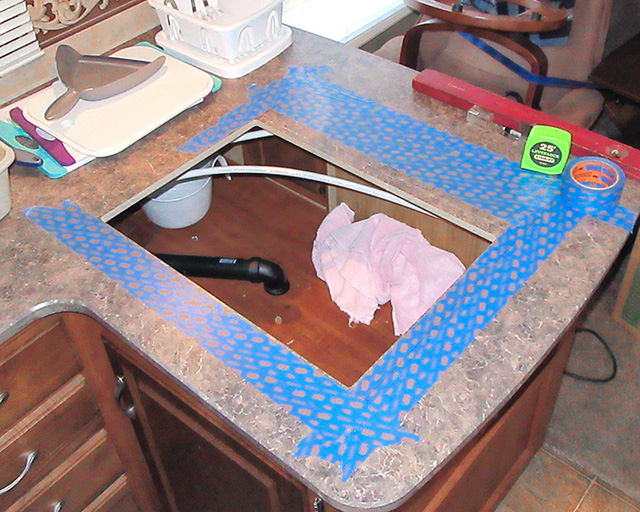
The hole … dutifully taped off with painters tape and marked up for “the cut” …
Candi and I still smiling at each other just before I actually cut “the hole” … hoping it will end the same way and we’re still smiling.
The sink is IN!
The beer is COLD! (and the sink and plumbing don’t leak!)